
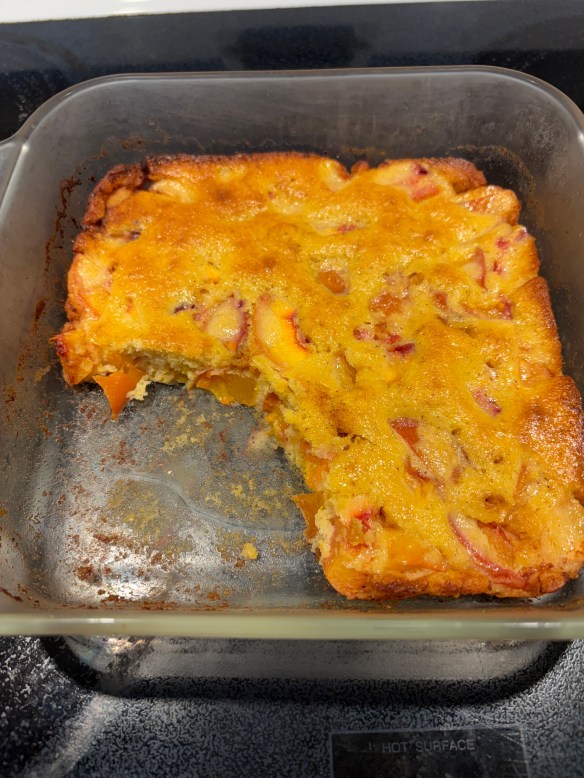
Earlier today I pulled out my recipe for “Kentucky Pudding”. The peaches I had bought earlier in the week at the Farmer’s Market were now ripe and another day might see them spoil, so I wanted a quick (and tasty) way to use them all at once.
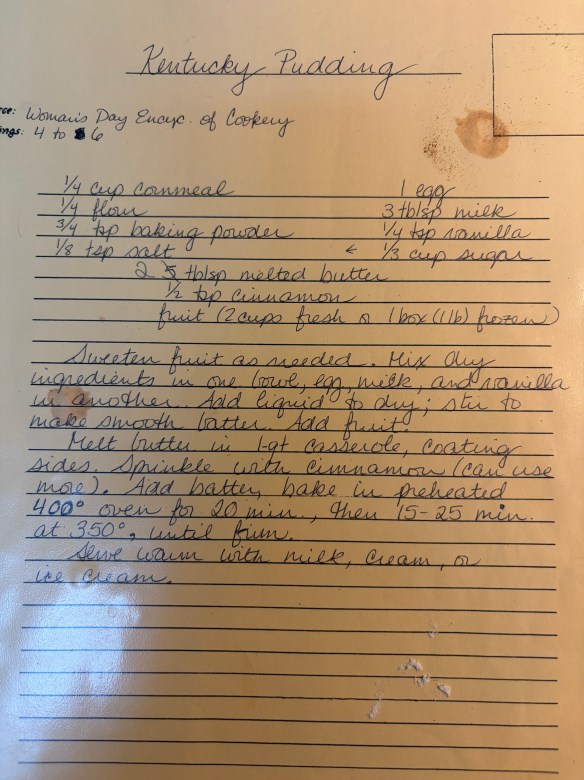
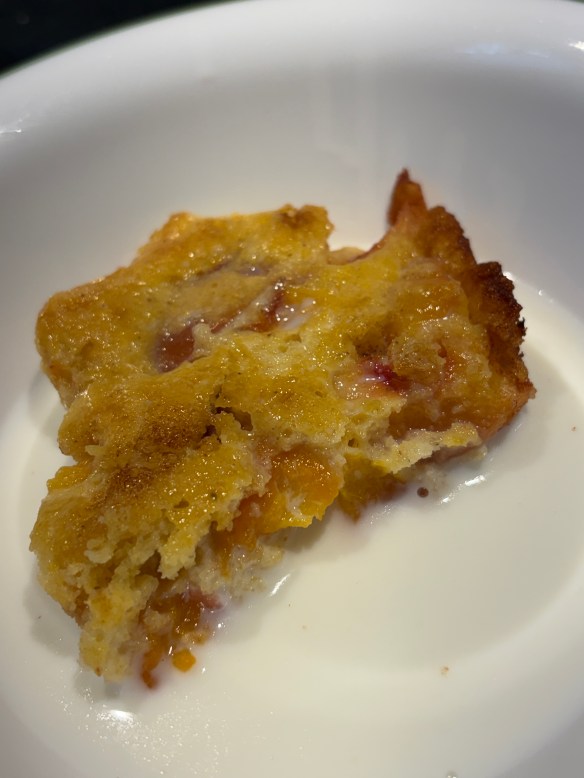
The name of the recipe, which I copied out decades ago, is “Kentucky Pudding”, yet I have never actually heard of it anywhere else. It’s basically in the fruit cobbler family–a batter, mixed with sweetened fruit, and baked. Served hot with cold milk, it’s delicious.
I was telling a friend about it and saying that actually it was a bit like Hasty Pudding or Indian Pudding, and that led me down the internet rabbit hole as I tried to determine (a) what hasty pudding actually is, and (b) is “Kentucky pudding” a recognized type of dessert, or just the name that was on this particular recipe.
Strangely, the recipes for Kentucky puddings that I found–Woodford Pudding and another one that involved vanilla pudding and fruit–bore no resemblance to the recipe I am used to. Mine is rather like cornbread–half corn meal, half white flour, with sugar, egg, and baking powder. It does have butter, but the butter is melted in the pan and sprinkled with cinnamon. Then the batter, mixed with fruit, is poured over it.
I read about hasty pudding, but the name seemed to cover a variety of desserts ranging from something like sweetened cornmeal mush through a tapioca pudding to a baked pudding like mine only without the fruit. Indian pudding overlapped with the baked version, with an emphasis on cornmeal and molasses.
I know there are a lot of cobbler-style desserts involving fruit and batter–slumps, grunts, and who knows what else. Most seem to involve either topping the fruit with batter or topping the batter with fruit. Then there are recipes for cornmeal cakes with fruit mixed in.
So what on earth have I been baking all this time? I looked up “Woman’s Day Encyclopedia” in conjunction with cornmeal and fruit dessert, and a Reddit thread listed “Hillbilly Puddin'”. It was clearly the same recipe (I use only a third of the butter listed). I suppose the name was changed in a later edition. I found some similar recipes labeled “Hillbilly Pie” and “Hillbilly Cobbler” (alternately, “Poor Man’s Pie” and “Poor Man’s Cobbler”), though not all the recipes included cornmeal, and the fruit was put on top, to sink in.
So, what makes this particular recipe distinct are the following:
- the batter is half cornmeal, half flour
- the butter is melted in the pan, not mixed into the batter
- it contains fruit
- the fruit is mixed into the batter
So should I continue to call this dessert Kentucky pudding, even though such a thing apparently doesn’t exist? Or Poor Man’s Cobbler? Or should I call it a cornmeal cake since the batter and fruit are mixed together?
Whatever its name, I shall certainly continue to make it. It’s that delicious.
Till next post.
Post-publication note: Apparently this is my SECOND post about this dessert. Wow, that’s just strange. I mean, it’s good, but…
