Two Fun Kinds of Decoration–Zen Gems and Pencil Calligraphy

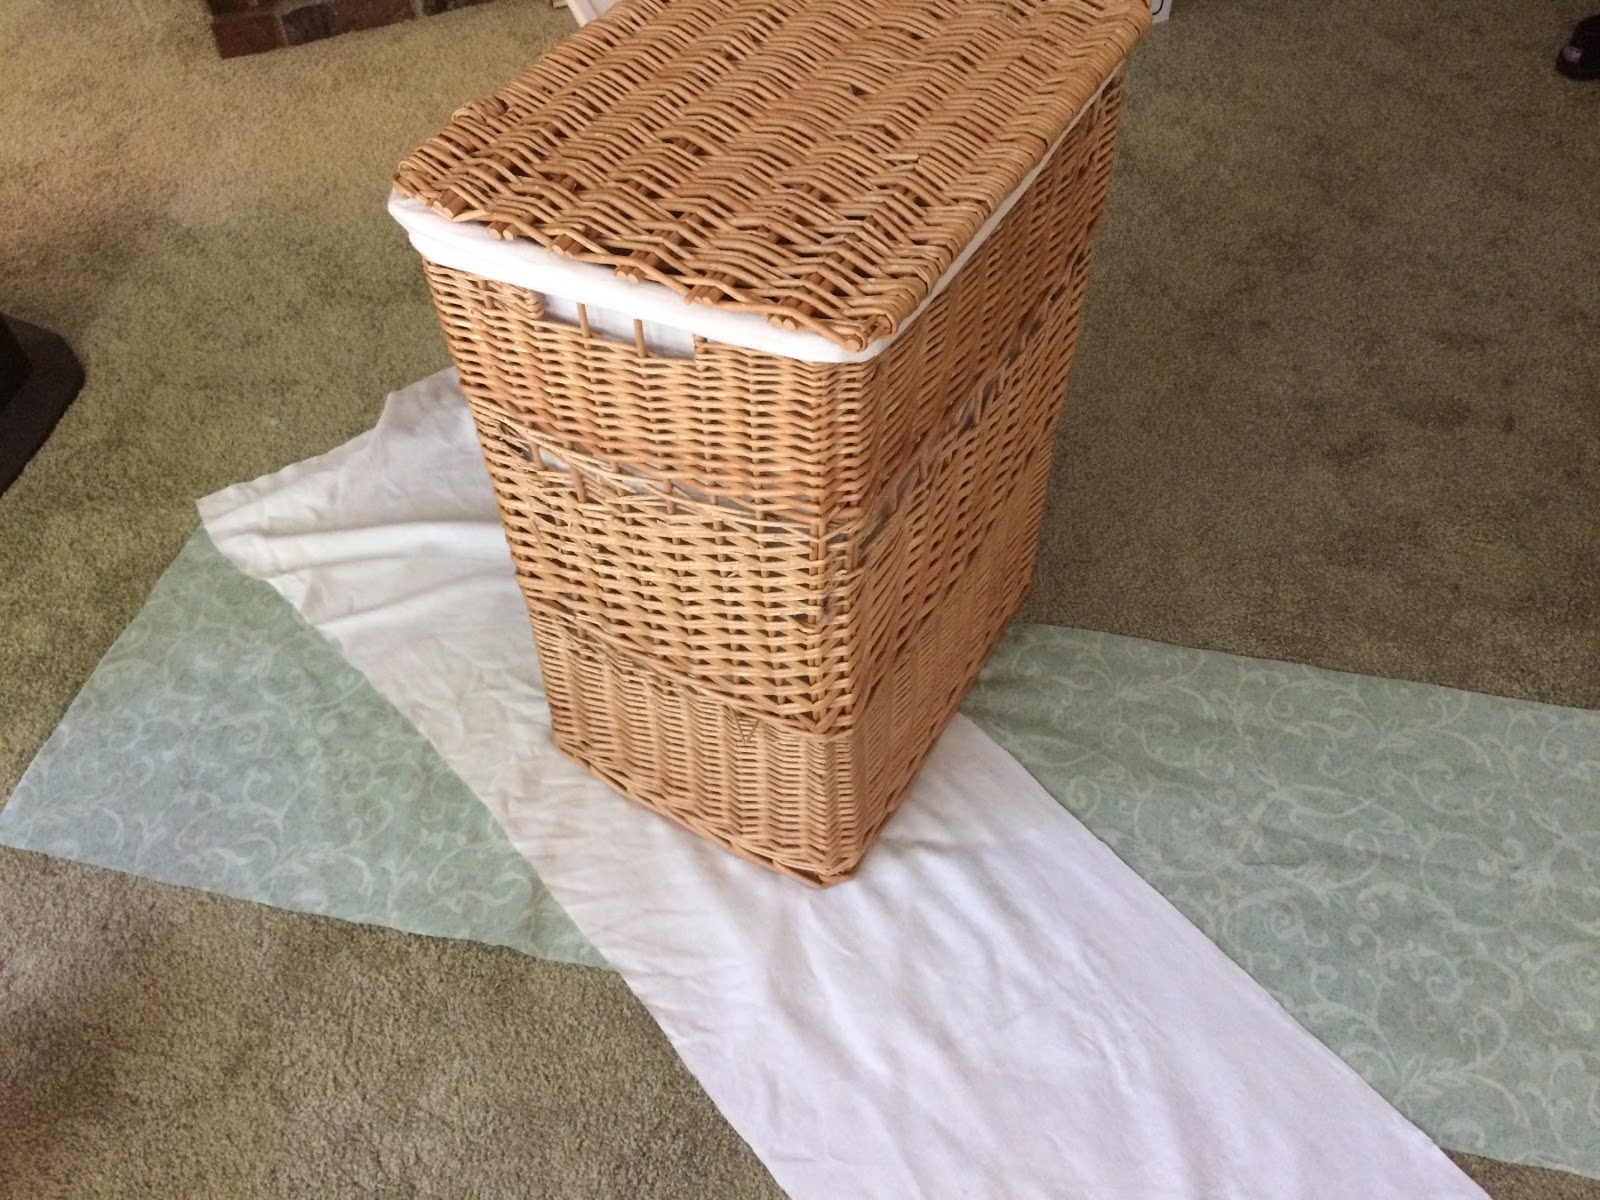
I don’t have much to say, so I’m going to post pictures and links.

First, I’ve really enjoyed looking at pictures of Zen Gems online–drawings of gems made using colored pencils or watercolor or sometimes Copic markers, and generally surrounded with a tangle (see Zentangle (R).) I’ve also had fun trying them out myself. There are various sources of instruction online, some free, some for a price.

Here’s one of the Youtube videos available. There are many.
Vitruvian Art–Gemstone Basics with Colored Pencils 

If you want something other than a video:
Tombow (this one involves markers and marker-blender, but gives a general idea you can use with other media)

Here I tried to draw something opal-like (“opalescent”, in fact). Note to self–do not use colored pencil on the slick side of the cardstock dividers from Red Rose tea. Use the rough side, or use some other kind of cardstock.

Handmade bookmark with zentangle gems

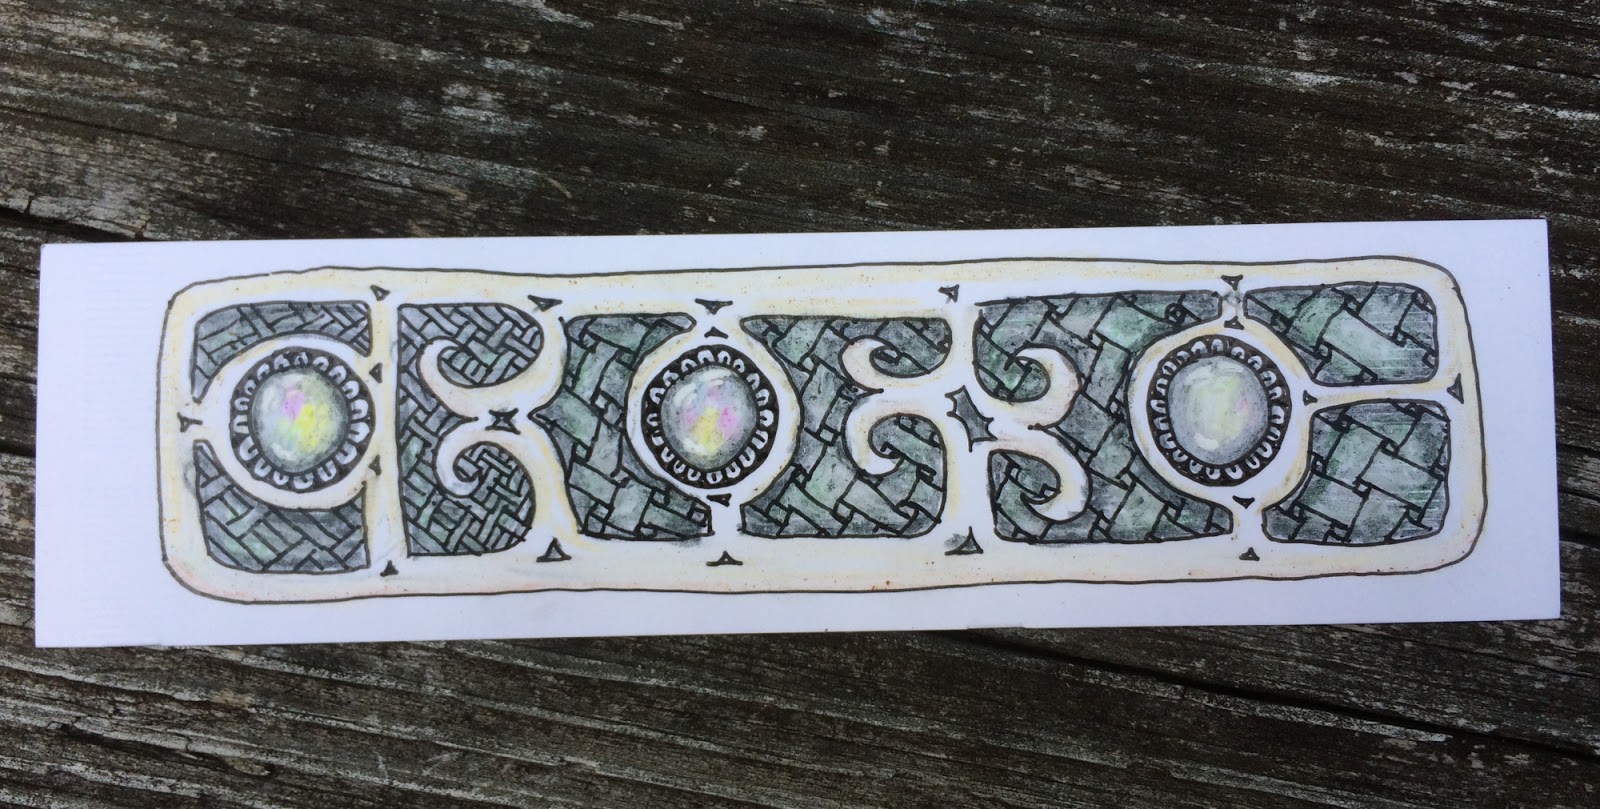
The idea was good, but the execution–not so much. Next time, pencil guidelines for the scroll-y framework, and review basketweave style tangles before attempting to fill in the background.

The second thing I’ve been having fun with is pencil calligraphy, which I discovered at the website The Postman’s Knock. There’s a free printable for it, though what I have in this photo is a much simpler version.

Lined paper with sample of pencil calligraphy

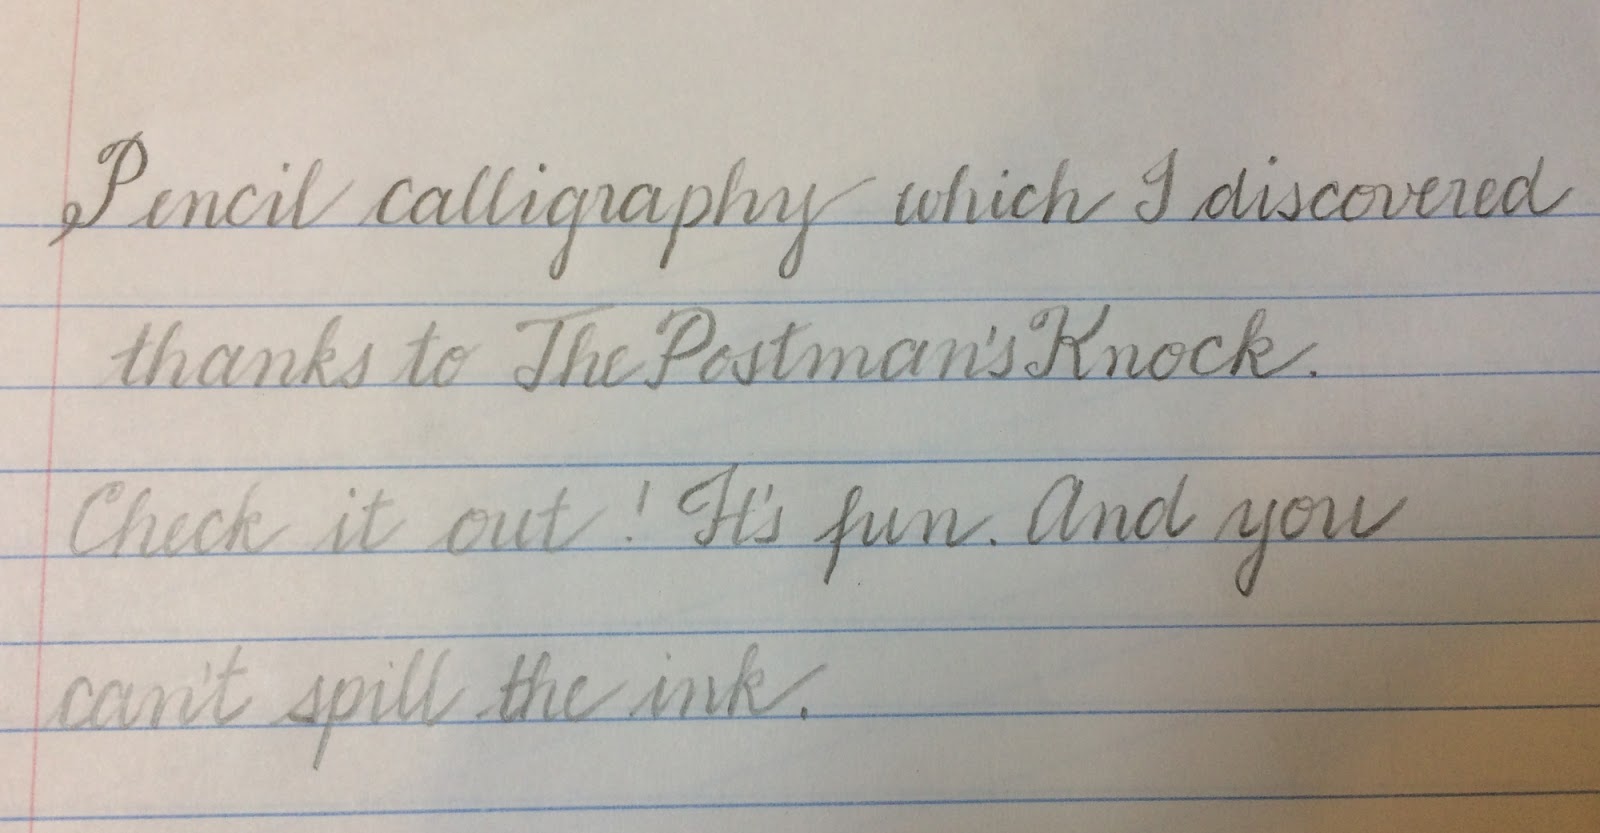
I wasn’t excited about it when I first tried it, but since then I’ve gotten more interested. It’s very convenient–all you need is a soft-ish pencil and paper. But be careful about the surface you work on as you do end up pressing down a bit harder than usual.

So that’s all for this week. Till next post.

Peach Kentucky Pudding—very easy, very tasty

Some of the best desserts are the easiest ones. Earlier I posted recipes for vanilla and chocolate custards that could be made in the microwave. Today I’m going to give you “Kentucky Pudding”, a cross between a fruit cobbler and Indian pudding.

I had never heard of Kentucky Pudding until I ran across it years ago in the Woman’s Day Encyclopedia of Cooking. I’ve never come across it since, which makes me wonder whether they made the name up for the cookbook. I can’t remember why I tried it in the first place, since I don’t usually get very excited about fruit desserts, but I do remember that I made it with peaches from a tree at work. They were soft, slightly wrinkled, very juicy peaches, and they needed to be used right away. They made an excellent Kentucky Pudding. And that is the key—use good fruit. This is the dessert to make when you find you’ve bought slightly too many strawberries or peaches at the farmer’s market or produce stand, but not so many that it’s worth making jam.
I ended up modifying the recipe, as it seemed to use way more butter than was necessary (about 6 tablespoons, as I recall.)
This dessert tastes wonderful, but it doesn’t look very impressive, so no photos. I recommend serving it warm in a bowl with some milk poured over it—or better yet, half-and-half. It reheats well.
Yum.
Kentucky Pudding
Fruit mix
2 cups diced or sliced fresh fruit (peaches, strawberries)
½ or more teaspoons sugar, depending on sweetness of fruit
Dry mix
¼ cup cornmeal
¼ cup all-purpose flour
1/3 cup sugar 
3/4 teaspoon baking powder
1/8 teaspoon salt
Liquid mix
1 egg
3 tablespoons milk
¼ teaspoon vanilla
For the casserole
2 tablespoons butter
½ teaspoon cinnamon
Preheat oven to 400. Melt butter in a round 1-quart casserole, coating the sides, and sprinkle cinnamon over it. (You may not have a round 1-quart casserole. An 8×8 glass casserole dish works, or even a large, oven-safe pottery bowl. If you use the 8×8 or other shallow pan, check the time early. It may not take much more than 20 minutes.)
Mix cut-up fruit and sugar and set aside. Note: you can leave the skin on the peaches. It won’t hurt.
Mix dry ingredients and liquid ingredients separately, then mix together. Add fruit and mix it in. Scoop it into your prepared casserole. Put it in the oven.
Bake for 20 minutes at 400, then reduce heat to 350 and bake an additional 15-20 minutes or until firm. It may not need the full time.
Cool slightly, then scoop into bowls and serve with whole milk or half-and-half. Makes about 4 servings.

This recipe works well with either peaches or strawberries. I haven’t tried this with plums, but it should be good with other berries. However, if you use blueberries, I suggest leaving off the cinnamon and adding a bit of lemon zest to the batter instead.

Till next post.

Making a Fabric Cover for a Scratching Post–I Mean Laundry Hamper!

Quite a few years ago, I bought a wicker hamper to put my laundry in. I like the way it looks and it fits nicely at the foot of the bed. Unfortunately, my cats find wicker to be a really excellent surface for exercising their claws. By now, that hamper has really taken a beating. I’d rather not have to replace it. So I thought I’d try covering up the sides with fabric.

The worst of the damage

I wasn’t sure what fabric would look nice in my bedroom (green walls, red-brown wooden bed, white trim… a lot of clutter….), so I didn’t want to spend a lot of time or money on something nice, only to discover I didn’t like the effect. I had old sheets and I found an interesting piece of green upholstery fabric with a scroll-type design at the Scrap Exchange. It wasn’t big enough to go all the way around, but the back of the hamper faces the footboard anyway and doesn’t normally get scratched.

The hamper and the fabric

The green upholstery fabric was very stiff and thick. Since I planned for the cover to fit under the lid (a tight squeeze, given that the inner lining also has to fit through there), I used the thin white sheet cotton for the upper part.

Even so, the piece turned out to extend too far around. It bunched up by the hinge. I needed to make a cut-out. Being lazy, I just folded and stitched those corners so it tapered up to the top.

Too much fabric at the hinges

 To hold the cover on, I attached elastic to one side and used buttons on the other. I hope that it will be enough. If our black cat claws it too vigorously, she might manage to pull the cover down. In that case, I will have to add further features. For now, it folds over the hamper at the rim, goes partway under the lid, and is pulled tight at the sides using elastic.

The cover is pulled tight using elastic at the back

You may notice the elastic isn’t very straight. I had a lot of trouble with the buttonhole, which I didn’t understand since I have made buttonholes on that machine before without trouble. I thought maybe the thickness of the nearby seam was somehow involved, and moved the buttonhole further away from the edges. What I should have done was to look up the error code in the manual. “E5” means that someone pressed the start button while the foot was plugged in. Duh! I didn’t realize that caused an error, because I rarely use the start button. I could have saved myself a lot of aggravation.

The hamper cover is now finished, at least until the cat tears it down. I’m not really into draping furniture with fabric, but I think it looks rather nice. I’d prefer the wicker, but as a second best option, I’m pleased.

The finished hamper cover