More Acanthus Scrolls, plus Homemade Envelopes

When I was looking for techniques for drawing that interesting foliage-like scroll, I found two useful sites. I made use of one of them in my last post, to draw a decorative scroll on a tuckbox. This time I tried Calligraphy Pen’s technique to make an interesting envelope. In doing so, I also discovered that my cut-and-paste skills need work.

Homemade envelope with acanthus scroll decoration
The finished envelope
 The envelope template that I used is from The Postman’s Knock. She offers a number of decorative printable envelopes, some for free. If you print them full size, they will hold a standard sheet of paper folded into quarters (important if you are making cards this way.) I traced around one and then started adding a scroll to the back flap of the envelope, and then started one that I wanted to go along the left-hand side of the envelope where it would not interfere with the readability of the stamp or zip code.
Here I have drawn a box lightly in pencil where I want the second scroll to go. You can see the one on the back flap already done.
Box penciled in
Here I have drawn the scroll in pencil.
Penciled-in scroll
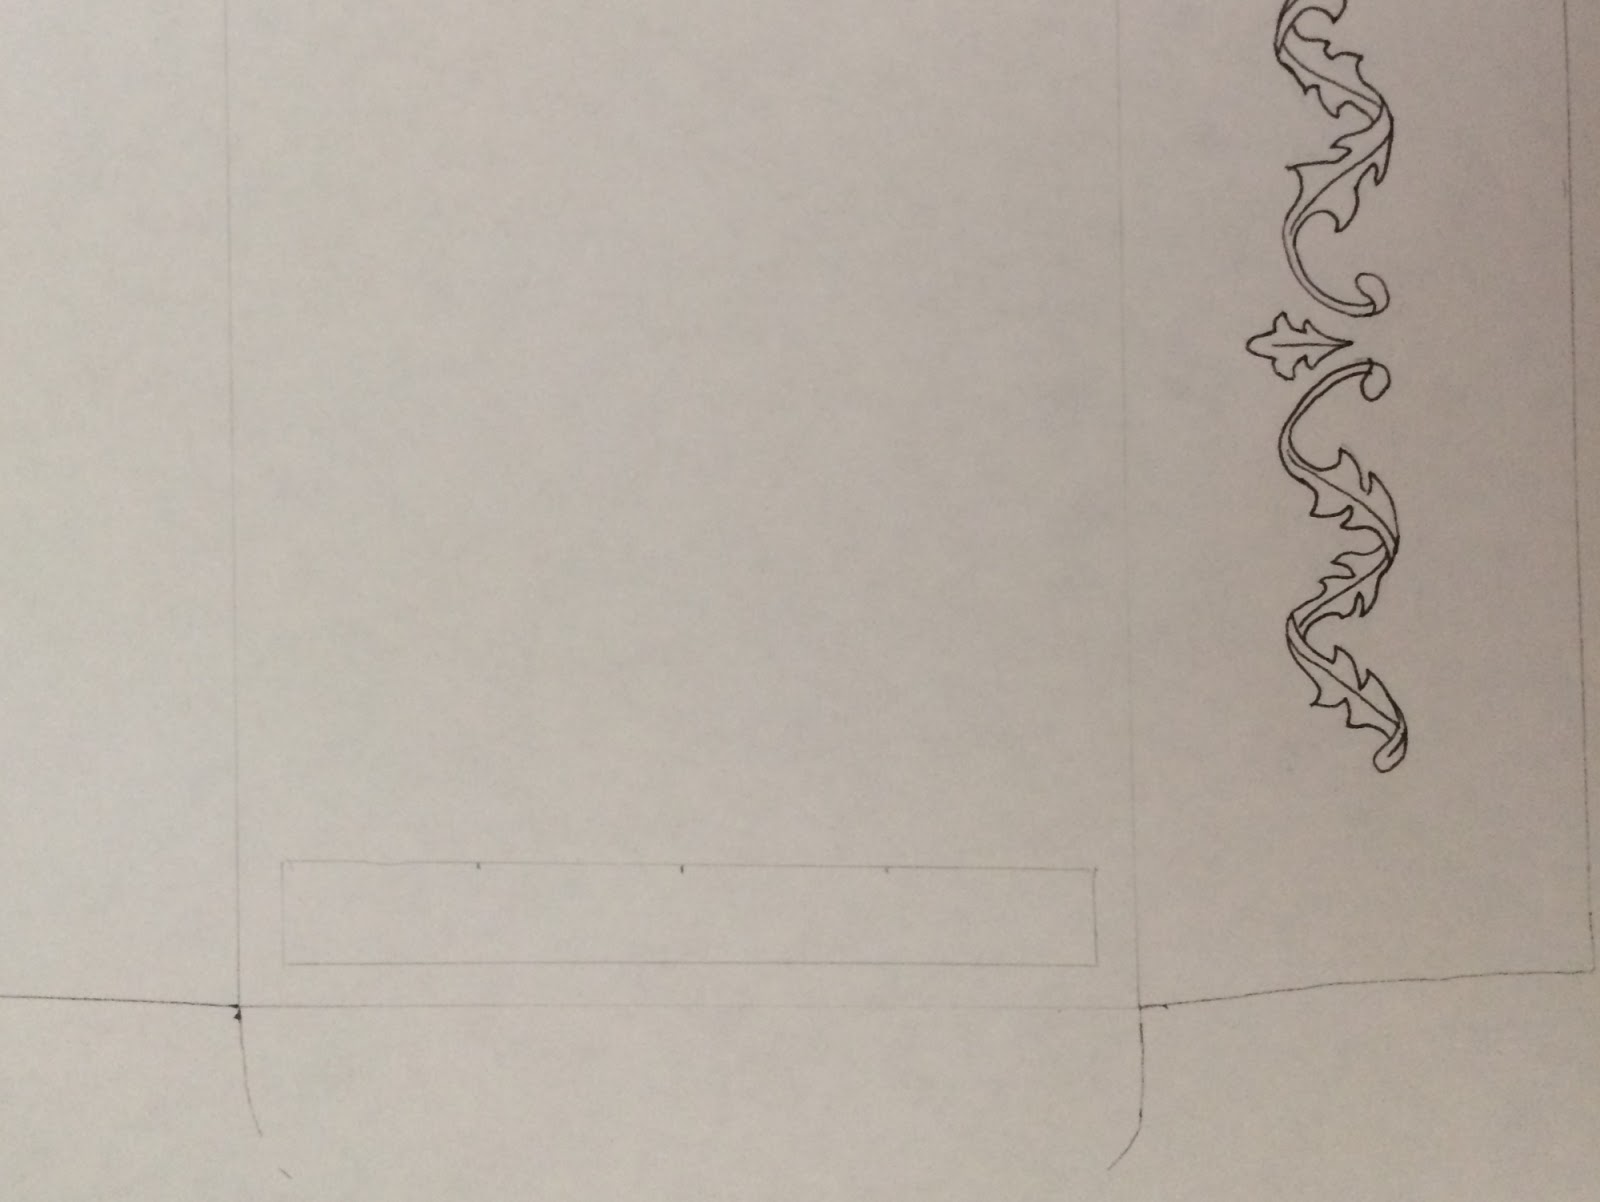
Here I have gone over it in pen, and added some rather random shadows with a finer pen. If the art critiquer at SCBWI saw this, he would no doubt ask me where the heck my light source is supposed to be coming from. Oh well.
Inked-in scroll
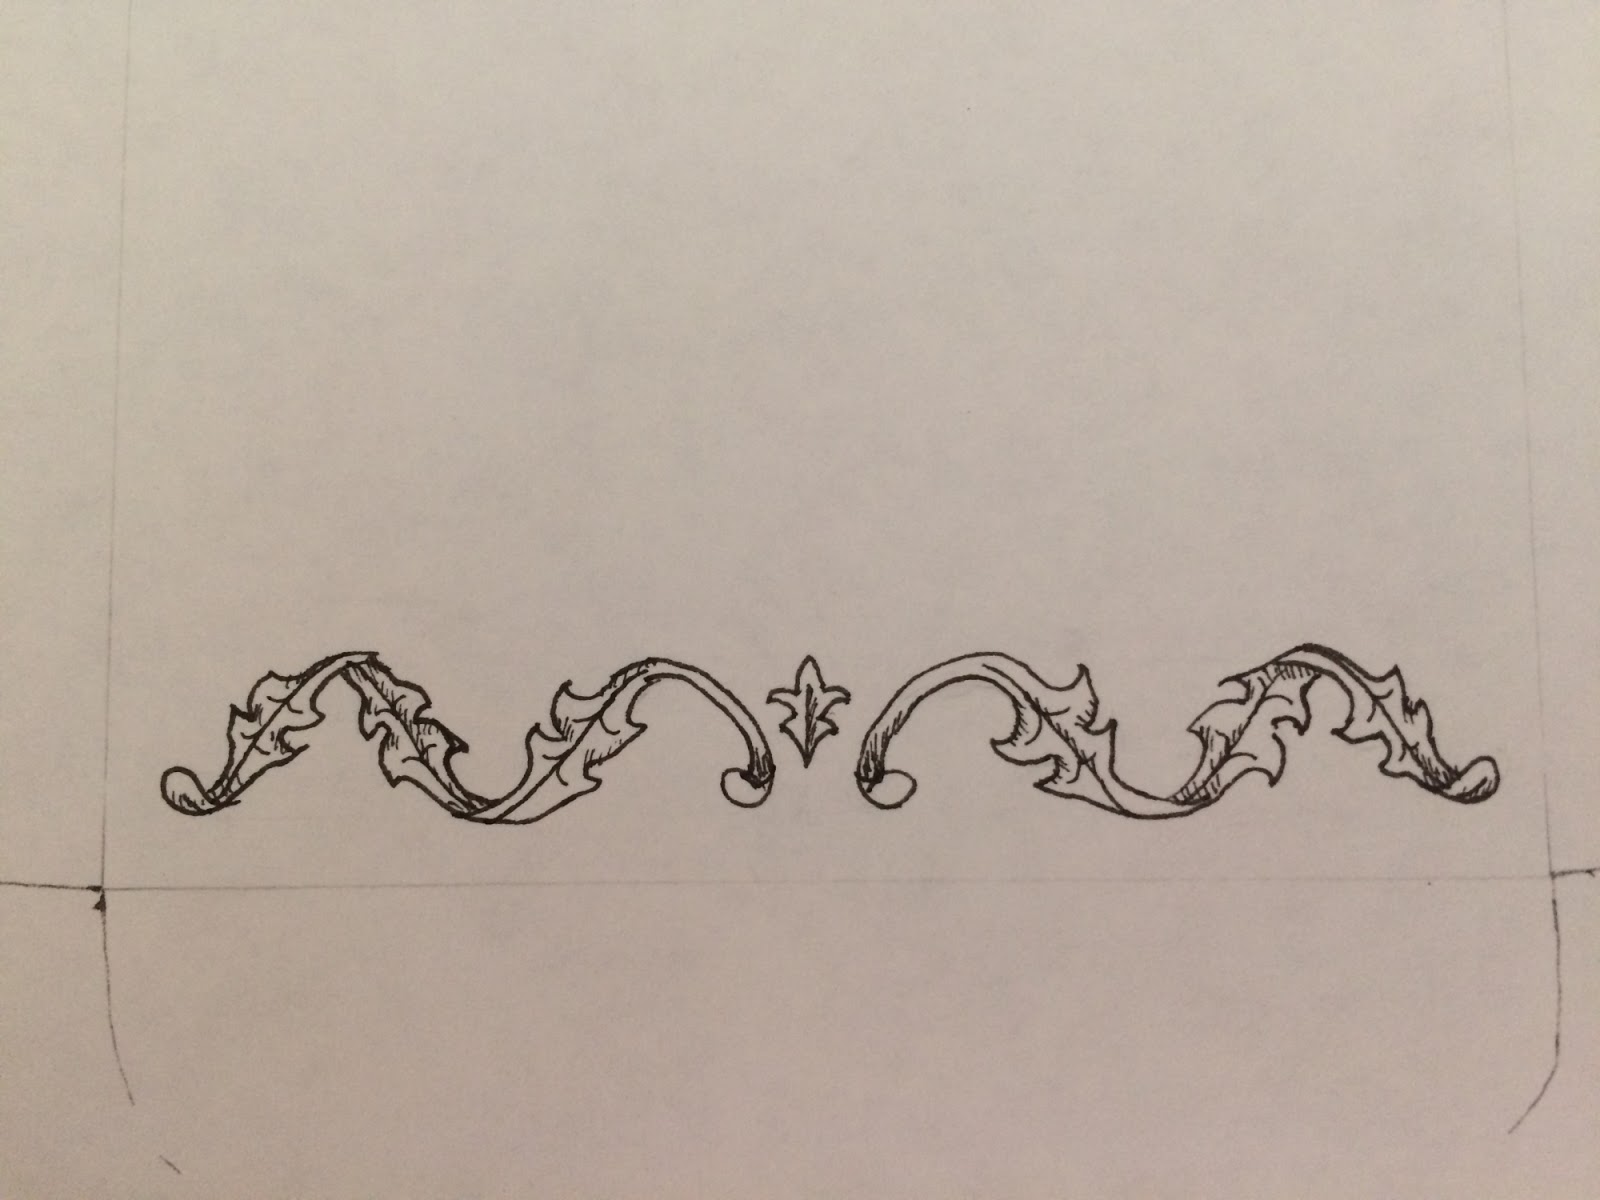
Now that I’ve gone over it in pen, I have a sudden realization. This scroll is on the WRONG SIDE of the envelope. Oops. Rather than start over, I decide to cut and paste. Since my computer art skills are limited, I cut and paste in the original sense of the phrase, then use the photocopy function on my printer.
Envelope template with scrolls cut and pasted in
Unfortunately, I haven’t stuck the pieces down well enough and faint lines show where I have pasted. And it turns out there is not a single bottle of white-out in the house. I try white watercolor, and then I try running white gel pen over the faint lines on the photocopy.
Finally, I decide that this isn’t such a wonderful scroll anyway, and I may as well make an envelope out of the copy with faint lines. I’ll make a better scroll decoration some other day. Meanwhile, I have plenty of photocopies that I can color in different ways if I want.
Till next post.

Acanthus Scrolls, Florentine Papers, and Decorated Tuckboxes


For the past couple of weeks, I have been fascinated by acanthus scroll designs. It started when I received some address labels that reminded me of the scroll-like design on a box of fancy stationery. I pulled the box out and started trying to imitate the design, without much success.

Box of stationery covered with Florentine paper with leafy scrollwork
Stationery box with Florentine paper cover
There is a tangle pattern (ZentangleTM) called “Icanthis”. It gets its name from the acanthus leaf, which shows up in stylized form all over the place. The design on the stationery box was a kind of leaf-like scroll, but not very much like the Icanthis tangle. So I turned to the internet. “Acanthus leaf”, “foliage scrolls”, “acanthus scroll”, and so on. There were all sorts of interesting images.
One thing I found out is that the paper I so admired is probably made by Rossi, a company in Florence, Italy. Such beautiful designs and colors! And of course, there are the accents in powdered gold—I think I may have said before that I like shiny things?
I also found tutorials on making two somewhat different types of acanthus scroll. One is a webpage on “Acanthus Drawing” by “Maitresse Yvianne”. I had a lot of fun trying out the design. I made a card and a tuckbox (photos below), but I didn’t add the turned-up leaf tips. I’ll have to try that another time. The other was a post in a blog called “The Calligraphy Pen”. This style makes a nice border.
While working on these, I drew acanthus scroll type designs all over the place, trying to find the ones I liked best.
Sheets of paper with sketches of acanthus scroll patterns
Acanthus scroll sketches
Eventually I decided to make some samples from the Yvianne tutorial, in part because it is a little easier. If you skip the turned-over leaf tips, you don’t even need pencil guidelines (though I used guidelines to get nice curves on the scroll.)
Pencil guidelines on card
Pencil guidelines
Acanthus scrolls inked over pencil guidelines on card
Drawn in ink
Acanthus scrolls on card colored with colored pencil
Colored with colored pencil
I didn’t really like the way the pencil coloring turned out. Maybe I should have used different colors, or just colored it more simply. So I decided to use watercolor for the next one and make a tuckbox (see Make Your Own Tuckbox).
Tuckbox paper pattern with pencil guidelines
Pencil guidelines on cut-out tuckbox
Tuckbox paper pattern with acanthus scrolls
Drawn in ink
Tuckbox paper pattern with acanthus scrolls and watercolor
Colored with watercolor.
Tuckbox with acanthus scroll design
The finished tuckbox.
Maybe I will use a gold gel pen on the next one and add some dots or squiggles. I like this design, but I left a lot of empty space. I think this style of scroll would look nice at the top of a letter, or maybe on a nameplate, but to turn it into decorative paper would require adding a lot of extra loops and flowers and details.
Of course, that could be fun, too.
Till next post.

The Versatile Bookmark


The other day a friend sent me an interesting bookmark. It is a cord with beads on either end for decoration. The idea is that you can leave it in the book as you read and it will not either fall out or make it difficult to turn pages, as paper bookmarks sometimes do. I’ve put it in a book I’m currently reading and am looking forward to trying it out.
Bookmark cord with beads on the ends inside a book on jewels
An appropriate book for a beaded bookmark
That’s one reason I’ve been thinking about bookmarks. The other is that every time I go to church, I am reminded that there there aren’t enough loose sheets in the program to mark all the hymns. If I don’t bookmark them, it takes me so long to flip to the correct page that I miss the beginning. So each time I say to myself, “I should bring some bookmarks.” Preferably with the words “First,” “Second,” “Third,” and so on at the top, so I know which one comes next.
I collected together all the bookmarks I could find and was interested to see that they fell into several categories.  The first and most obvious is that of standard-type bookmarks with beautiful pictures.
Paper bookmarks with beautiful drawings or photos on them
Decorative paper (mostly) bookmarks
There are so many of these out there, and they are so much fun to look at! I really liked the Eowyn marker, because I think Eowyn is interesting, but the metal horse bead on the tassel unbalances it and tends to make it fall out of books. The fact that it is so glossy probably doesn’t help either (not enough friction.) That brings me to the second category—bookmarks that come in different shapes and materials, often in an attempt to improve functioning.
Bookmarks in metal, fabric, or with magnets
Bookmarks of various materials
So the magnetic bookmark (the small square) is designed to hold tight to your place, as are the book darts. They can be a problem in that they hold on so tightly, it takes longer to remove them to mark a new place. The two clip-shaped ones (the plastic kitten and the metal turtle) are also supposed to hold better, though I’m not sure they really do. If you look carefully, you can see the beaded string bookmark here—another one aimed at improved function as well as decoration.
The others are simply different materials–the lenticular (3D) bookmark, the woven bookmark (which also falls under the category of souvenir, although it was my parents that traveled, not me), and the metal one that is not a clip. Plain metal makes a terrible bookmark, by the way—it falls out of the book constantly.
Paper bookmarks are an excellent medium for advertising and informational messages. After all, they’re just bits of paper and so are very cheap to make. Bookstores in particular use them for advertising (no surprise there). The fact that they are bookmark-shaped means that they are more likely to be kept around and not tossed. Sometimes they remain in books and are rediscovered years later.
Promotional bookmarks
Bookmarks can also be a handy way to hand out printed information–especially if that information is book-related.
Informational bookmarks
Despite having such a wealth of bookmarks, I sometimes use the plain strips of thin cardboard that come in boxes of Red Rose teabags. They’re the right size and thickness, and when I am reading a particularly interesting nonfiction book, I can make notes right on the bookmark. (Alternatively, they can be decorated by visiting children.)
Strips of paper used as bookmarks, with notes or drawings
Plain, picturesque, or with jotted notes.
That brings me to the last category—the hand-made bookmark, usually paper, though occasionally woven or made of other material. Strips of paper are easy to decorate, and the fact that it is a “bookmark”, not merely a strip of paper, makes it seem more “gift-y”. (When I think about this, I’m surprised I don’t have even more bookmarks than I already do.)
What a great opportunity to make something fun, for yourself or someone else!
Homemade ZIA bookmarks numbered First through Fourth.
And here are the numbered bookmarks!