Hot Cross Buns–New Twists On My Old Recipe

A mixture of citrus, cinnamon, and nutmeg–plus butter–is one of my favorite flavor combinations. It started with a hot cross bun recipe long ago, when I used lemon and orange zest in place of some candied citron. Of course, citrus zest is not the same thing as citron, but I thought the candied fruit mix sold in the stores looked weird and unappealing, while citrus zest, either orange or lemon, sounded pretty good. So I used both.

I’ve been pretty happy with my hot cross buns, but I have to admit that they seem to dry out too quickly. So this year I decided to try something new. Earlier this year, I made a recipe for Kanelbullar (Swedish Cinnamon Buns) using a recipe from Cook’s Illustrated (Jan/Feb ’22). They were enormously buttery and sweet, and also very soft. I thought I’d borrow the technique called tangzhong , as well as some extra butter, but keep my favored flavoring and traditional hot cross bun shape.

The tangzhong technique, which seems more or less the same as one called yudane, involves heating some of the flour and liquid together to make a flour paste, then using that in the dough. It’s kind of entertaining and reminds me of making playdough, though the paste wasn’t as stiff and hard to stir. On the other hand, my dough turned out too wet, so maybe I should have cooked the paste till it was like playdough.

Shows that the flour paste mixture was still sticking to the pan, which is wetter than a playdough mixture.
The tangzhong.

Here’s what I baked:

Hot Cross Buns, 2022 version

Soften 4 T butter. Use a microplane grater, if you have one, to zest part of a lemon and part of an orange till you have about 1 tsp mixed citrus zest. (The proportions are up to you.) If you don’t have a microplane grater, just do whatever you usually do for zesting citrus. But if you like to add citrus zest to dishes, I really recommend the microplanes. Add the zest to the butter (you can just put it on top so you don’t forget it.) By the way, this is twice the butter of my usual recipe.

Heat 3/4 cup milk with 1/4 cup (1-1/2 oz) bread flour to make a paste. I found it easiest to warm the milk in the microwave just to lukewarm or so, then mix in the flour briskly, then heat it on the stove and stir with a wooden spoon. I think it’s faster than starting on the stove, but easier then pulling the mixture in and out of the microwave to stir it. (Plus, my microwave keeps beeping even after you open the door… a bad design, I think.)

I moved the paste to the stand mixer and add 1/2 cup cold milk, then whisked till smooth. This should avoid the problem of the mixture being too hot for the yeast, but check to be sure.

Add 2 cups (~11oz) bread flour and 2-1/2 tsp yeast. Mix it in. Use dough hook on low for a minute or two. The dough is supposed to look dry. Mine did not look particularly dry, and in fact I had to add more flour later. But if it does look a bit dry, you’re probably on the right track. Then let it stand 15 minutes.

While you’re waiting, mix together 1/3 cup white sugar, 1 tsp cinnamon, 1/4 tsp nutmeg, and 1/4 tsp salt. My usual recipe only uses 1/4 cup sugar, but I thought it could be a bit sweeter. I like to mix the spices with the sugar because I worry that the cinnamon will clump together otherwise. It probably doesn’t make a difference in this case, though.

Add the sugar mixture to the dough and mix on med-low for 5 minutes.

Now add the softened butter (cut in pieces) and citrus zest. Mix on med-low, scraping as needed, at least 5 minutes. You want the dough to clear the sides of the bowl, but stick a little on the bottom. Mine was way too wet and left sticky dough along the sides, so I had to add more flour, a spoonful at a time, until it was about right.

At this point I could have tried my usual procedure for hot cross buns–let dough rise an hour, cut and shape and rise another 30-45 minutes before baking. Instead, I followed the kanelbullar procedure, even though I didn’t really need to end up with a rectangle since I wasn’t going to use a sugary, buttery filling.

Oil a 13×9 pan (I used a glass casserole) and squash the dough in there, flip it and squash some more into an approximate rectangle. Cover with plastic and refrigerate for 1 hour.

While I didn’t use a sugary filling, I did need to add raisins. Soak 1/4 cup raisins in warm water. Before using, drain and pat dry with paper towel.

Put dough on floured board. Arrange raisins evenly over 2/3, then fold plain dough over onto raisins, and fold over again. I’m not going to try to explain this better, because really the point is just–add the raisins to the dough so they’re nicely distributed.

Usually I cut the dough into 18 pieces. This time I decided to try 24 (divide in 3, then each in half, in half again, in half again.) In hindsight, I think these buns are too small. I recommend dividing it into 18. (thirds, then thirds, then half)

Arrange them on a baking sheet, cover with a damp towel or such, and let rise for 1 hour.

Before they finish rising, preheat the oven to 425.

I don’t usually put egg wash on my hot cross buns, but I did this time and I think I like it. Mix one egg with 1 t water and a pinch of salt. Brush some on top of buns. Cut a cross on the buns. (This didn’t work very well as the dough was soft and wet with egg wash. Maybe I should have done this before the egg wash.)

Bake till golden, 13-17 min. Let cool on sheet on a rack for 5 min, then remove from sheet and cool on rack at least 10 min more.
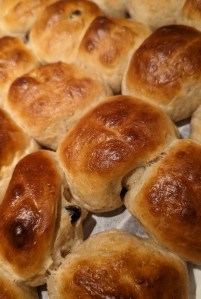
Egg-washed buns have golden, somewhat shiny tops.

I’m not going to include a recipe for the icing. I usually use an icing made from powdered sugar, a little hot milk, and lemon extract. This time I tried royal icing with lemon extract. I have two things to say. First, if you store these buns in a plastic container, the royal icing will get damp and runny just like the regular powdered sugar icing. I guess it’s all the moisture in there. Second, lemon extract doesn’t last. The flavor changes over time. So if your lemon extract is old, get a new bottle, even if you haven’t made it halfway through the old one. My husband and I compared the new and old extracts and could both detect a difference in how they smelled. I’m pretty sure that translates into a difference in flavor. I did add some fresh lemon zest to the icing to improve it, and maybe using zest alone, or zest plus lemon juice, would be better.
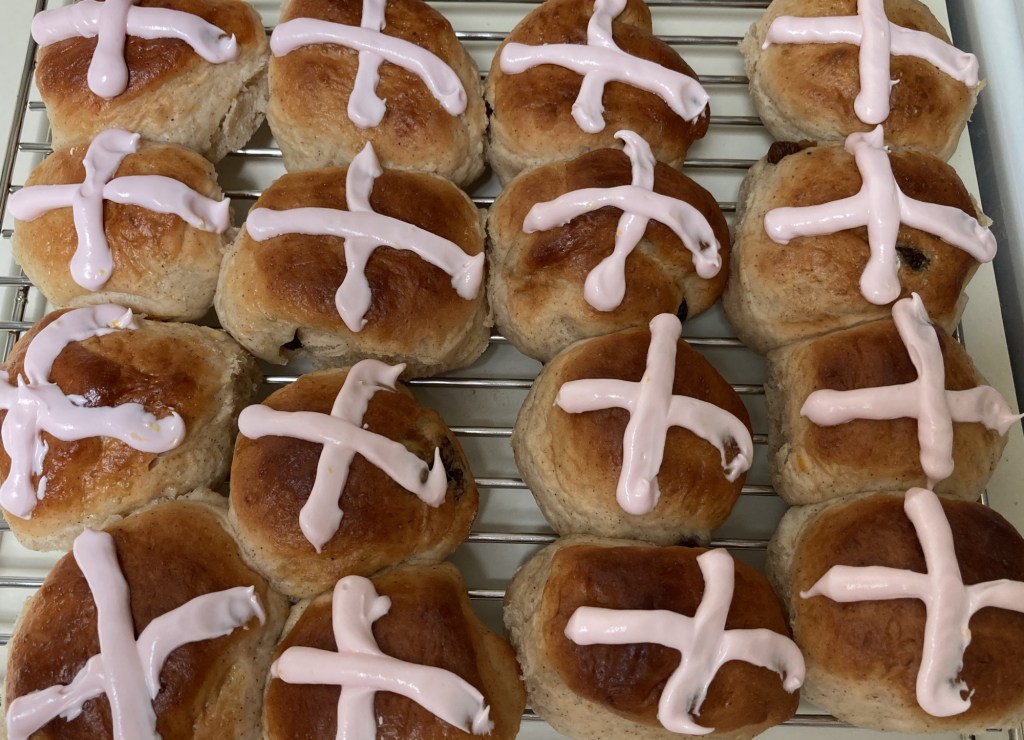
Hot cross buns with royal icing while it is still firm, before excess moisture in the bun makes it runny.

You may notice I’ve been messing around with the format of the recipe, using bold in places and putting a dash so that 1 tsp and a half becomes 1-1/2 tsp. I’m not sure if that’s actually any clearer. If you have an opinion on this, let me know.

Till next post.

Stay at Home and Have Cake

“Stay at Home.”

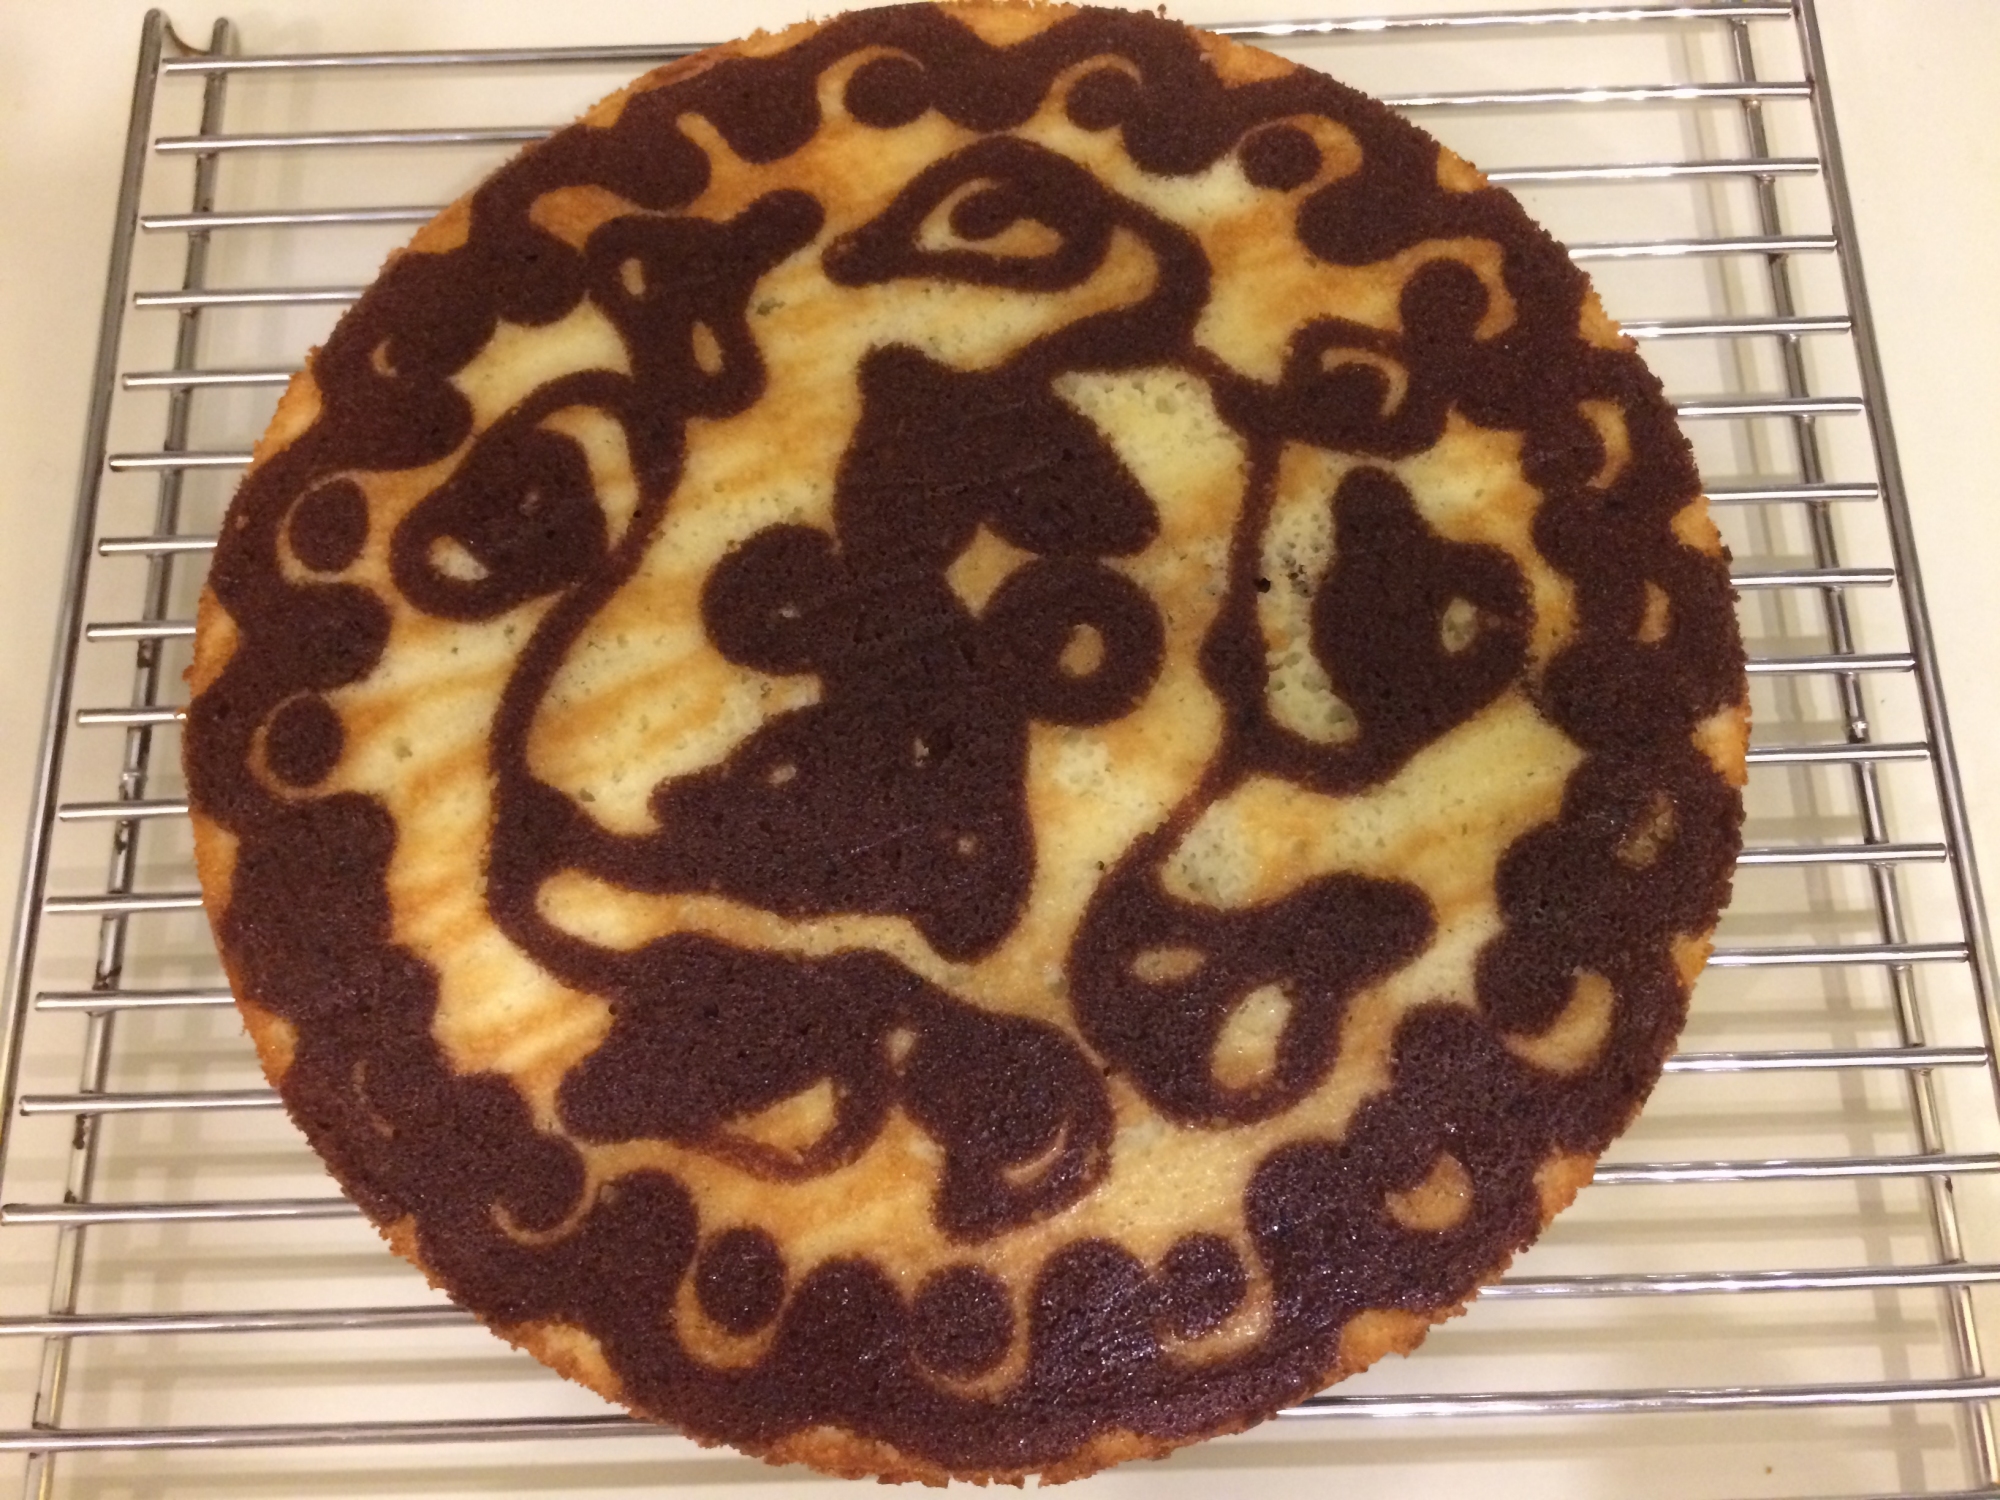
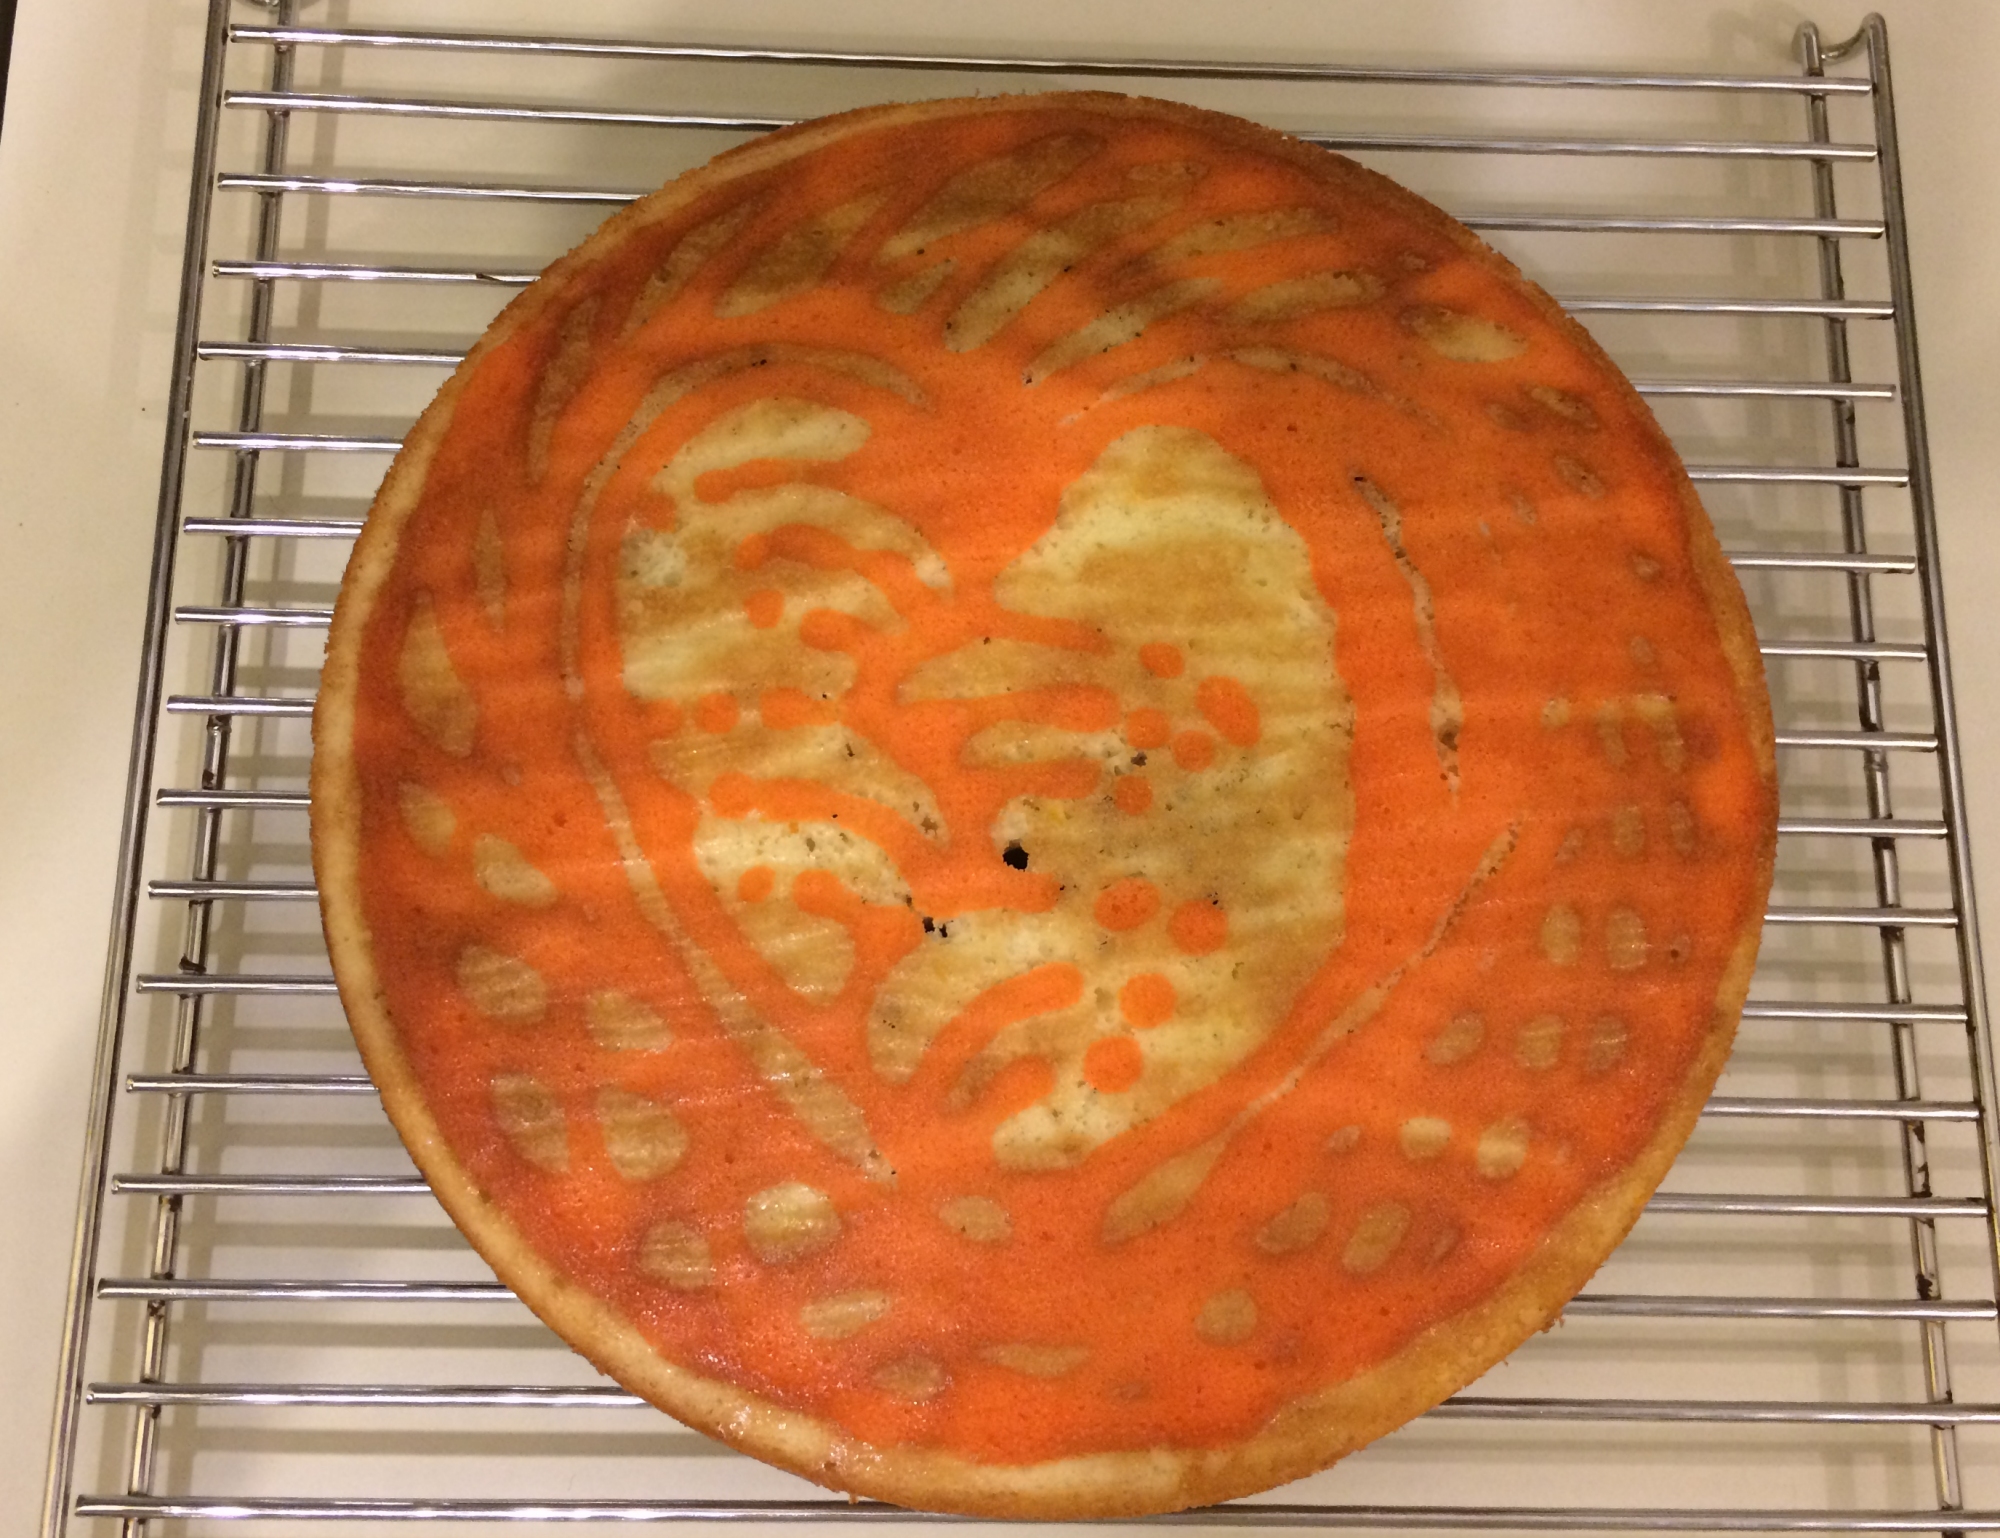
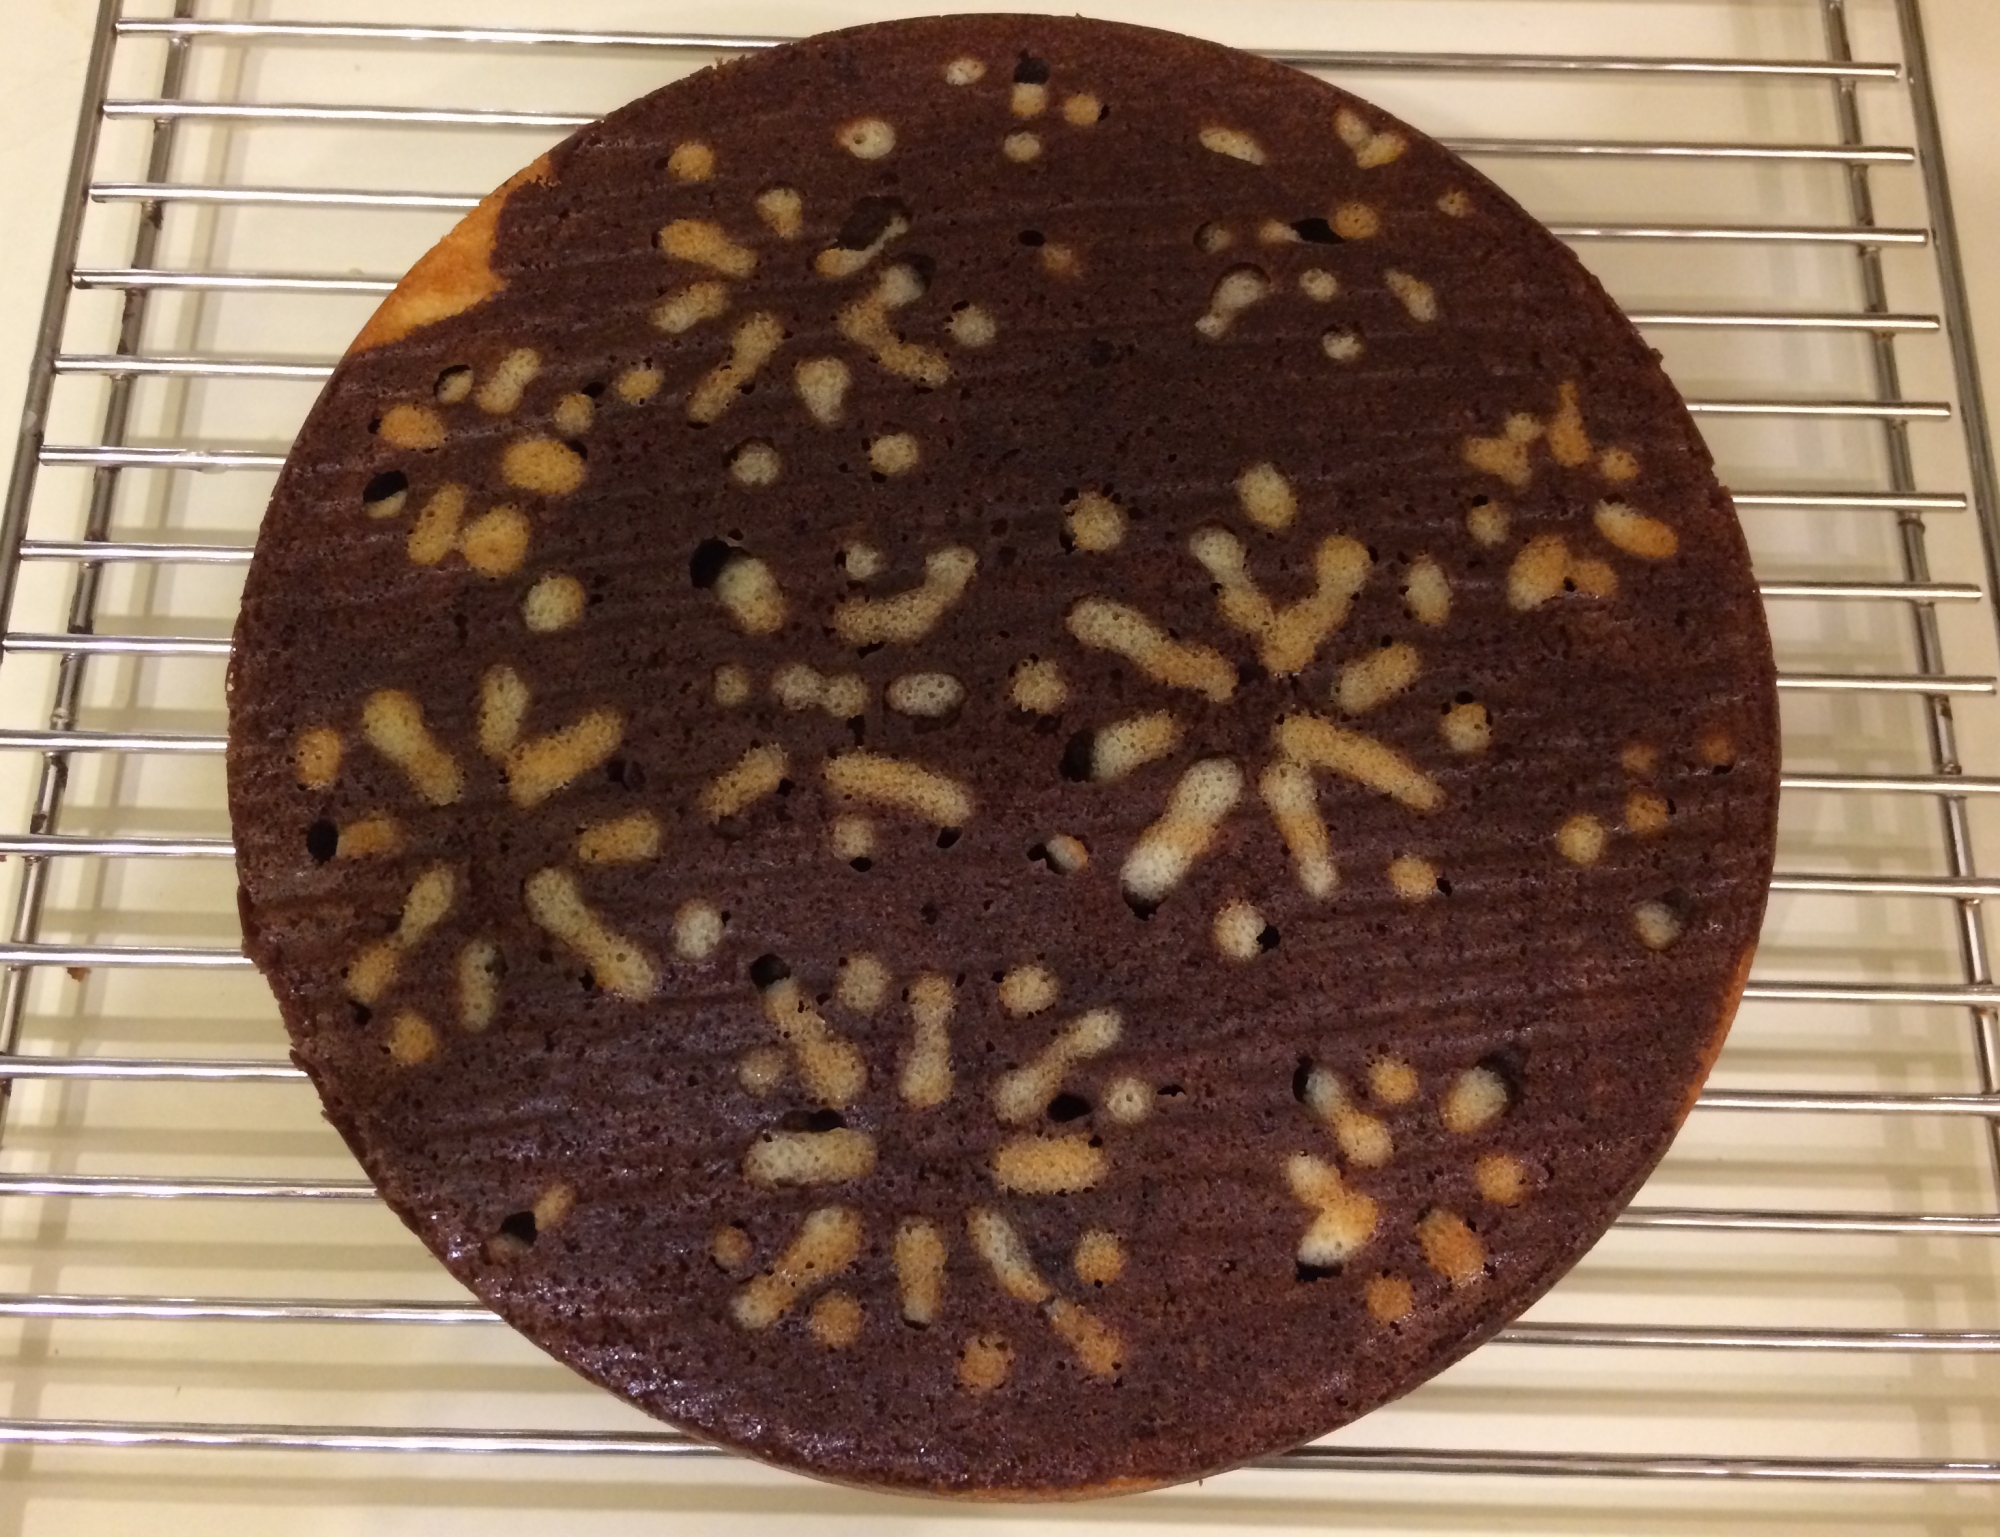
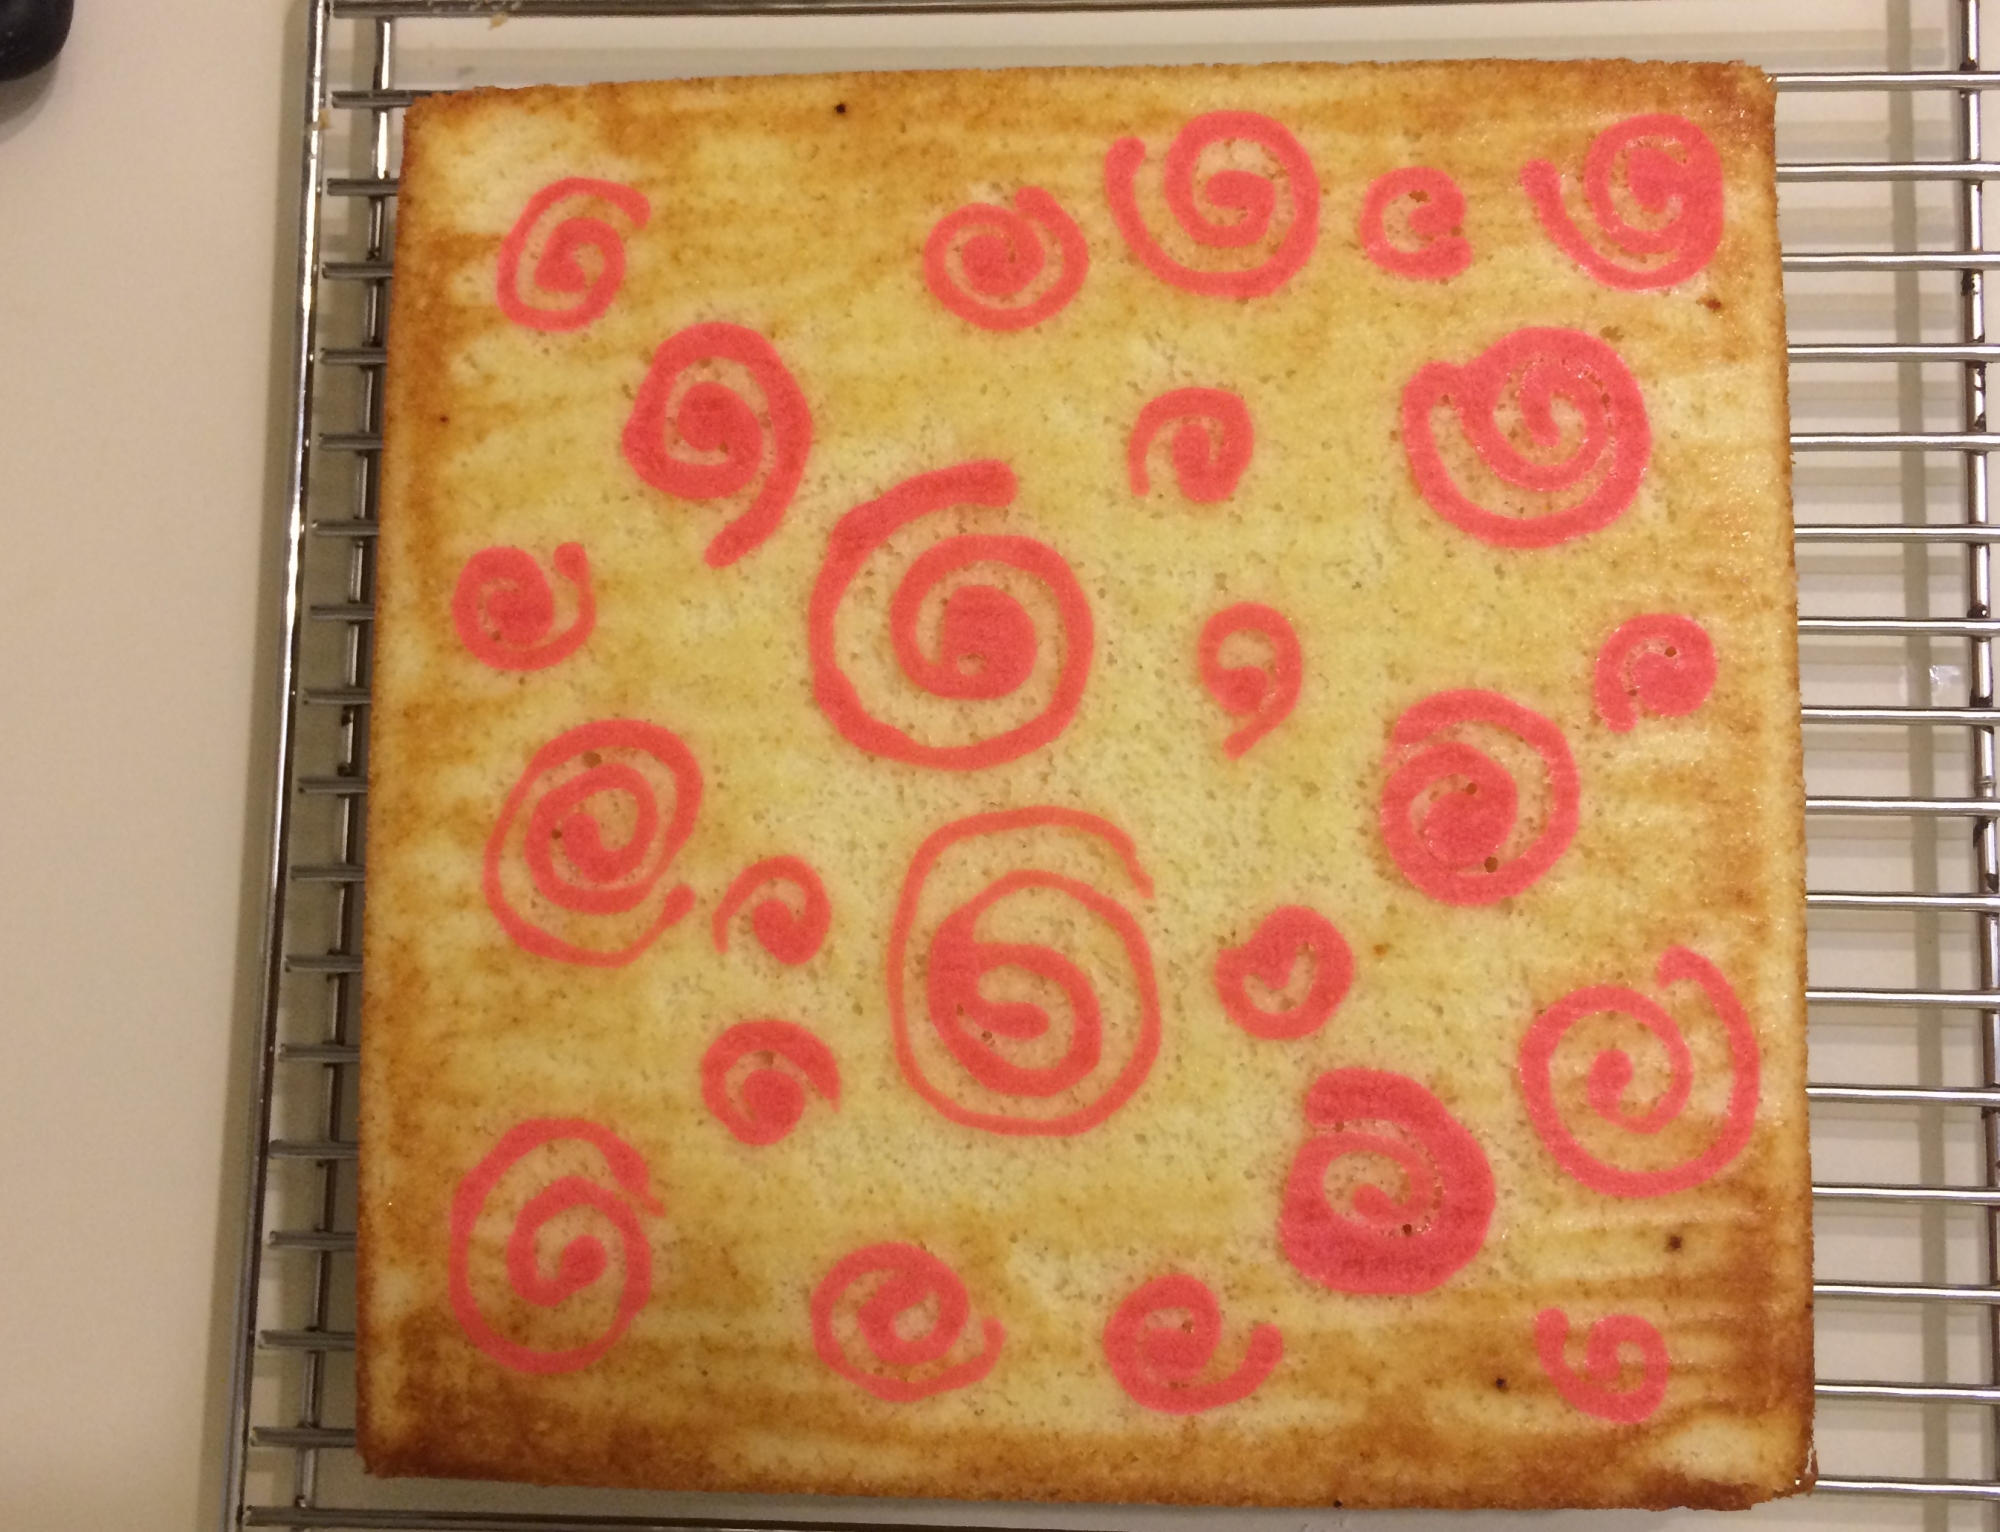
Back in April I was experimenting with decorating cake using the batter itself, thanks to watching too many episodes of the Great British Baking Show. I was trying a technique that seemed to have many names: joconde imprime, Japanese Jelly-roll, and inlay cake. The writing above was not made with that technique. Rather, I took the  leftover vanilla batter and piped it on top of the chocolate batter to express the concerns of the moment.

I never did write a blog post about the decorating technique, or at least, I never finished one. But the motto is even more relevant now than it was back in April.

Not everyone has the option to stay home, but for those who do, it is a contribution to fighting the pandemic. I know we went over all this back in March and April, but to repeat–if all you can do is avoid getting COVID yourself, you have still done something to help stop the pandemic. You have created one less source of infection, one less draw on the increasingly limited COVID-related resources.

(That should have been “fewer”, shouldn’t it?)

Everyday life goes on… and on… and it isn’t possible to postpone everything. There are dental visits, doctor visits, and sometimes you have to call the plumber in. Sometimes you really want to pick out your own groceries, and sometimes you want to see a friend–even if it has to be from a distance, masked. But you can still choose to be careful and limit your exposure, especially right now when the risk is higher than ever for most people. If it made sense in April, it makes even more sense now, when there is almost ten times the risk, on average, of catching it.

In the interests of ending on a positive note, I’m going to tack on some of the photos from April’s baking experimentation. Maybe eventually I’ll have another try at the technique, but till then…

Till next post!

Cranberries Are Fun–traditional cranberry sauce and a cranberry curd tart

Cranberry curd tart with whipped cream design
Cranberry curd tart

Cranberries are fun to cook and I really like the spiced cranberry sauce that I make each year to go with the Thanksgiving turkey and mashed potatoes. So when I saw the recipe for cranberry curd tart in the Nov/Dec issue of Cook’s Illustrated, I wanted to try it.

Why do I like cooking with cranberries? For a start, they are one of my favorite colors–a red-violet that I would probably call magenta. Second, they float in water like little corks or tiny round magenta buoys. And then there’s the way they bounce if you drop them, instead of squashing. How much cuter can you get?

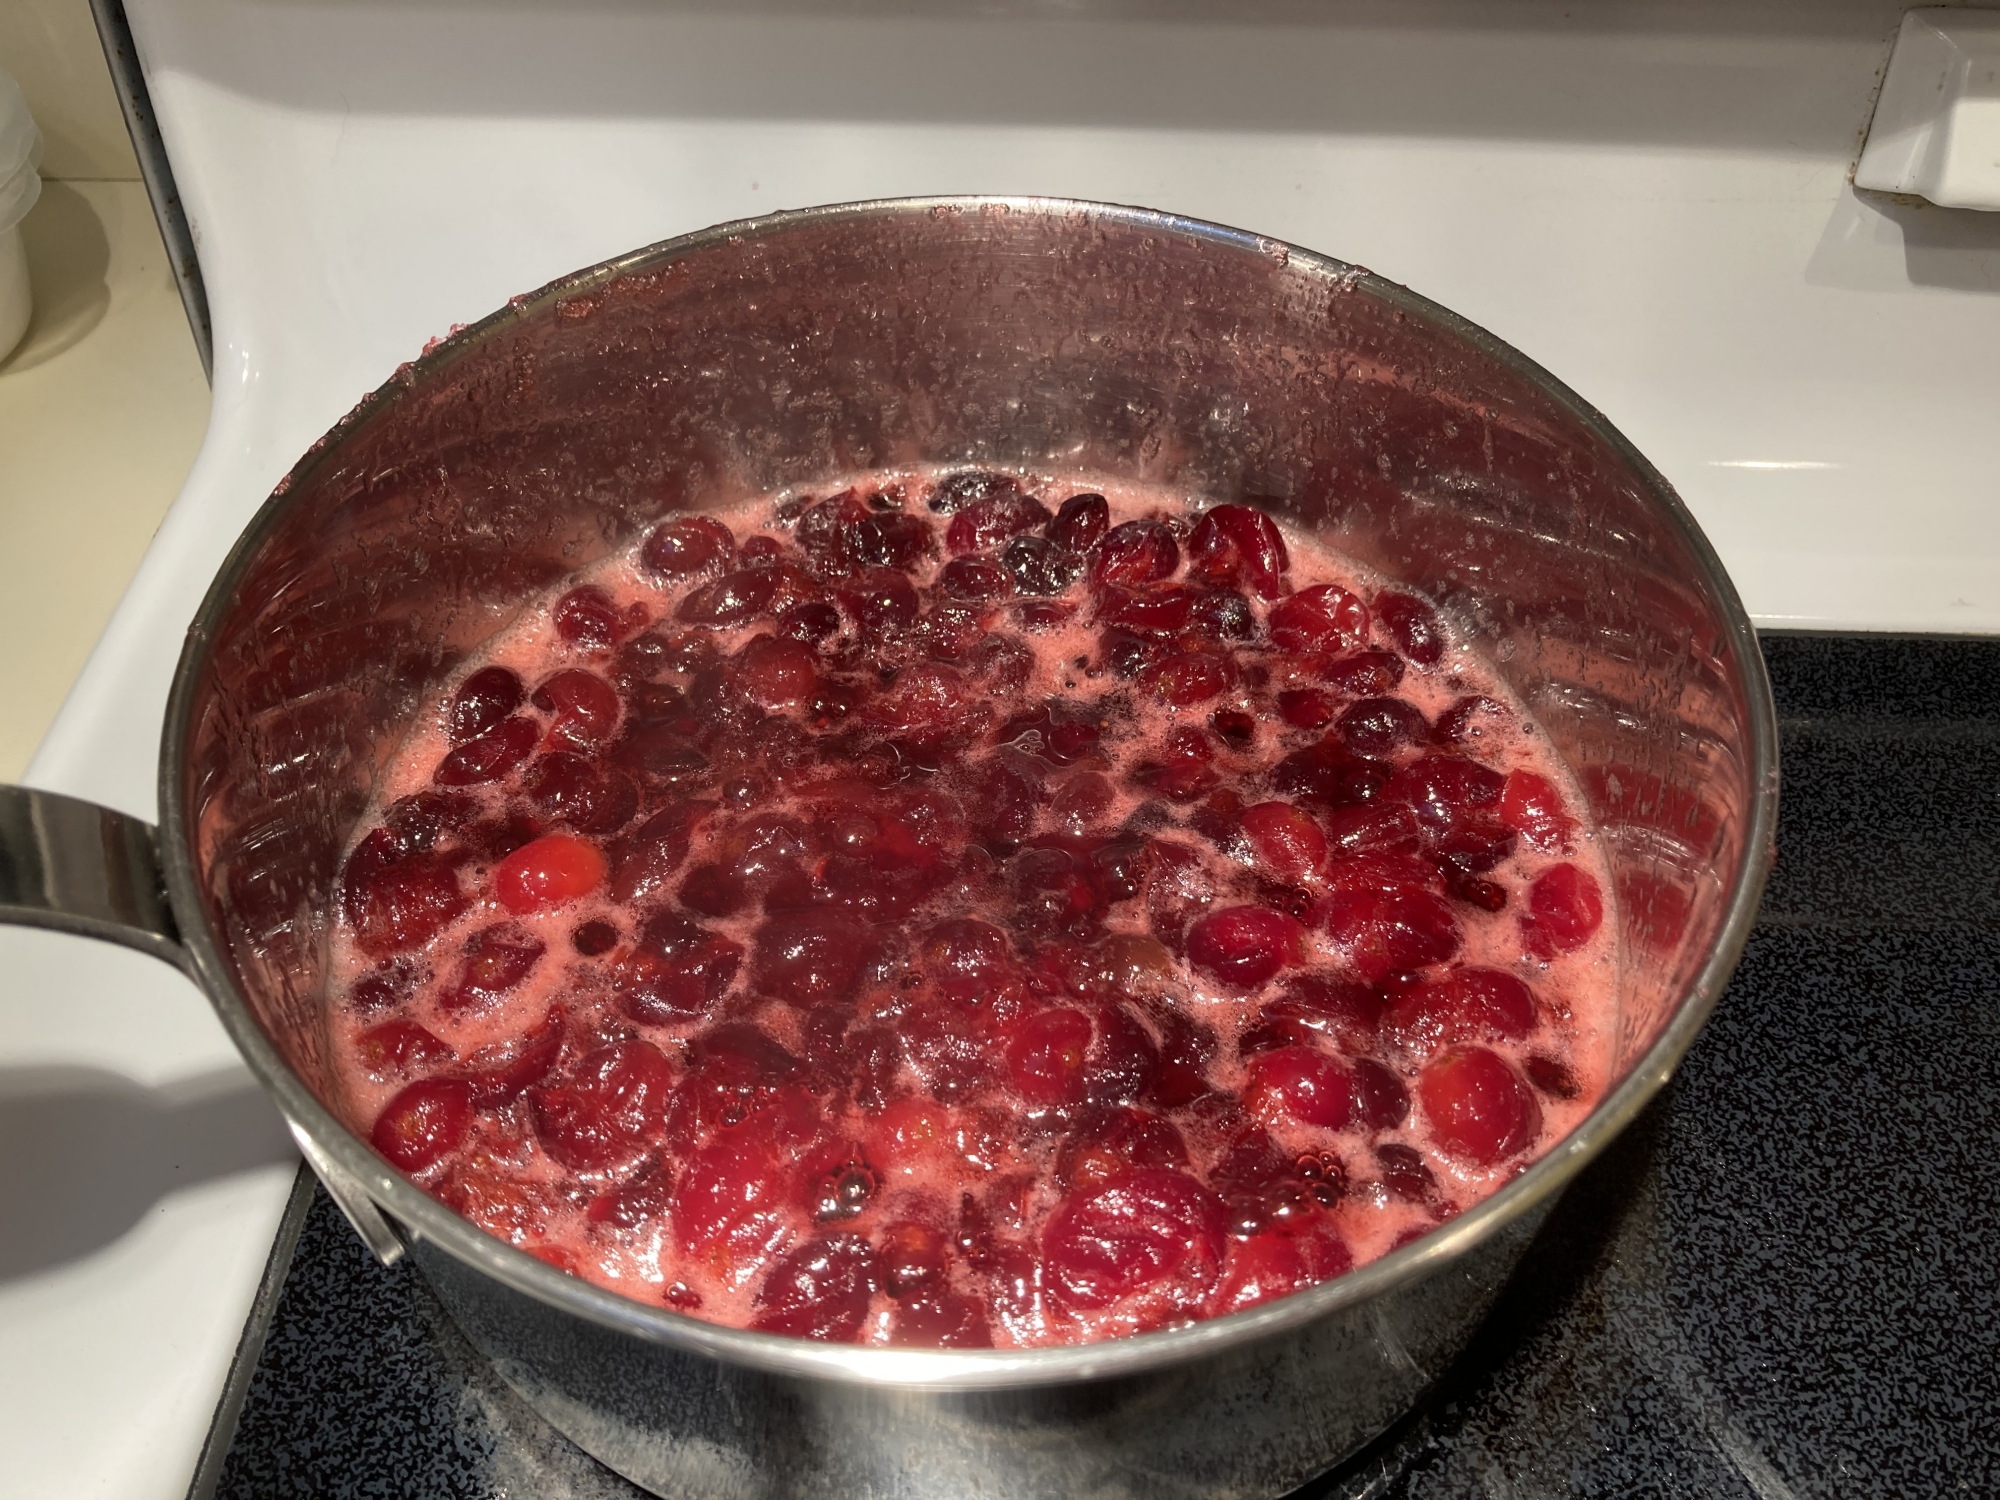
I also like watching cranberries boil. At the start, you have firm red-purple berries floating in colorless water (with vinegar or sugar added, depending on the recipe.) After things heat up, you can hear the berries bursting–a quiet pop! pop! pop!–and you find you have squashy berries mixed into red-purple water.

Cranberries boiling in a pot of water
Boiling cranberries

Long, long ago, I had a friend who made a spiced cranberry sauce for Thanksgiving. Hers wasn’t sweetened, but it was tasty, so years later when I saw a “cranberry catsup” in Fannie Farmer, I tried it, changing some of the measurements. Delicious! Now I make it every year. Here’s my recipe, which is loosely based on the one for cranberry catsup in the Fannie Farmer Cookbook, 17th printing, copyright 1959.

Cranberry Sauce

Boil 12 ounces of cranberries with 1/4 cup white vinegar and 1 cup water. When berries are soft (about five minutes), strain, pressing the mixture against the strainer with a wooden spoon to get it all.

Put it back in the pot with 1/2 cup of brown sugar, 1/4 teaspoon ginger, 1/4 teaspoon clove, 1/2 teaspoon cinnamon, 1/2 teaspoon salt, and 1/8 teaspoon pepper. Stir and heat together for three more minutes. 

(The original recipe has a higher proportion of vinegar and spices, adds paprika, and ends by mixing in 2 teaspoons of butter.)

This year Cook’s Illustrated came out with a recipe for a cranberry curd tart with an almond crust. I had to try it. I’m not going to put the recipe here, because this issue is still available in stores and I would feel bad about putting it on the internet. Also, I think it’s more fun if you read the description of how its creator developed it. (It may be available from your library on-line.)

I will say a bit about how the recipe goes, though. I used a 12 ounce bag of cranberries, because that appeared to be the standard size. Curiously, the recipe called for a pound. Since my 12 ounces was actually 13+ ounces when I weighed it, I decided not to change anything other than reducing the water very, very slightly. It came out just fine.

First the cranberries were boiled with sugar and water, so I got to watch the berries burst and the water turn crimson. Then they went into the food processor with an egg yolk mixture. There was some processing, some cooling, some added butter and more processing, then through the strainer and into the crust.

Undecorated cranberry curd tart, cooling on rack
The cranberry tart, cooling

The crust. While all that processing and cooling went on, I messed up the crust. I mixed up a greasy, wet paste that baked into a greasy, hard crust. Clearly I must have mismeasured something. The taste was fine, and the crust was softer the next day, but that can’t have been the intended texture.

The greasy crust before baking

 Then the whole thing had to cool for four hours. Keep that in mind. Four hours. Fortunately, this was November 3 and I wasn’t planning on going to bed early anyway. When the tart was completely cool, it was time to whip the cream, which had been mixed with a bit of filling and chilled. I have to say, the piped design did indeed keep its shape well.

Slice of cranberry curd tart
The final product

How did it taste? It tasted a lot like a lemon bar, except not lemony. Presumably it tasted like cranberry, but cranberry isn’t a taste I can easily identify. You might say it tasted like a berry bar–tangy and sweet. I’m glad I made it, but I don’t expect to make it all that often. Then again, I wonder what it would taste like if it were spiced like my cranberry sauce? Hmm…

Till next post.