Decorating Boxes For Flashcards — Zentangle and ZIA on tuckboxes

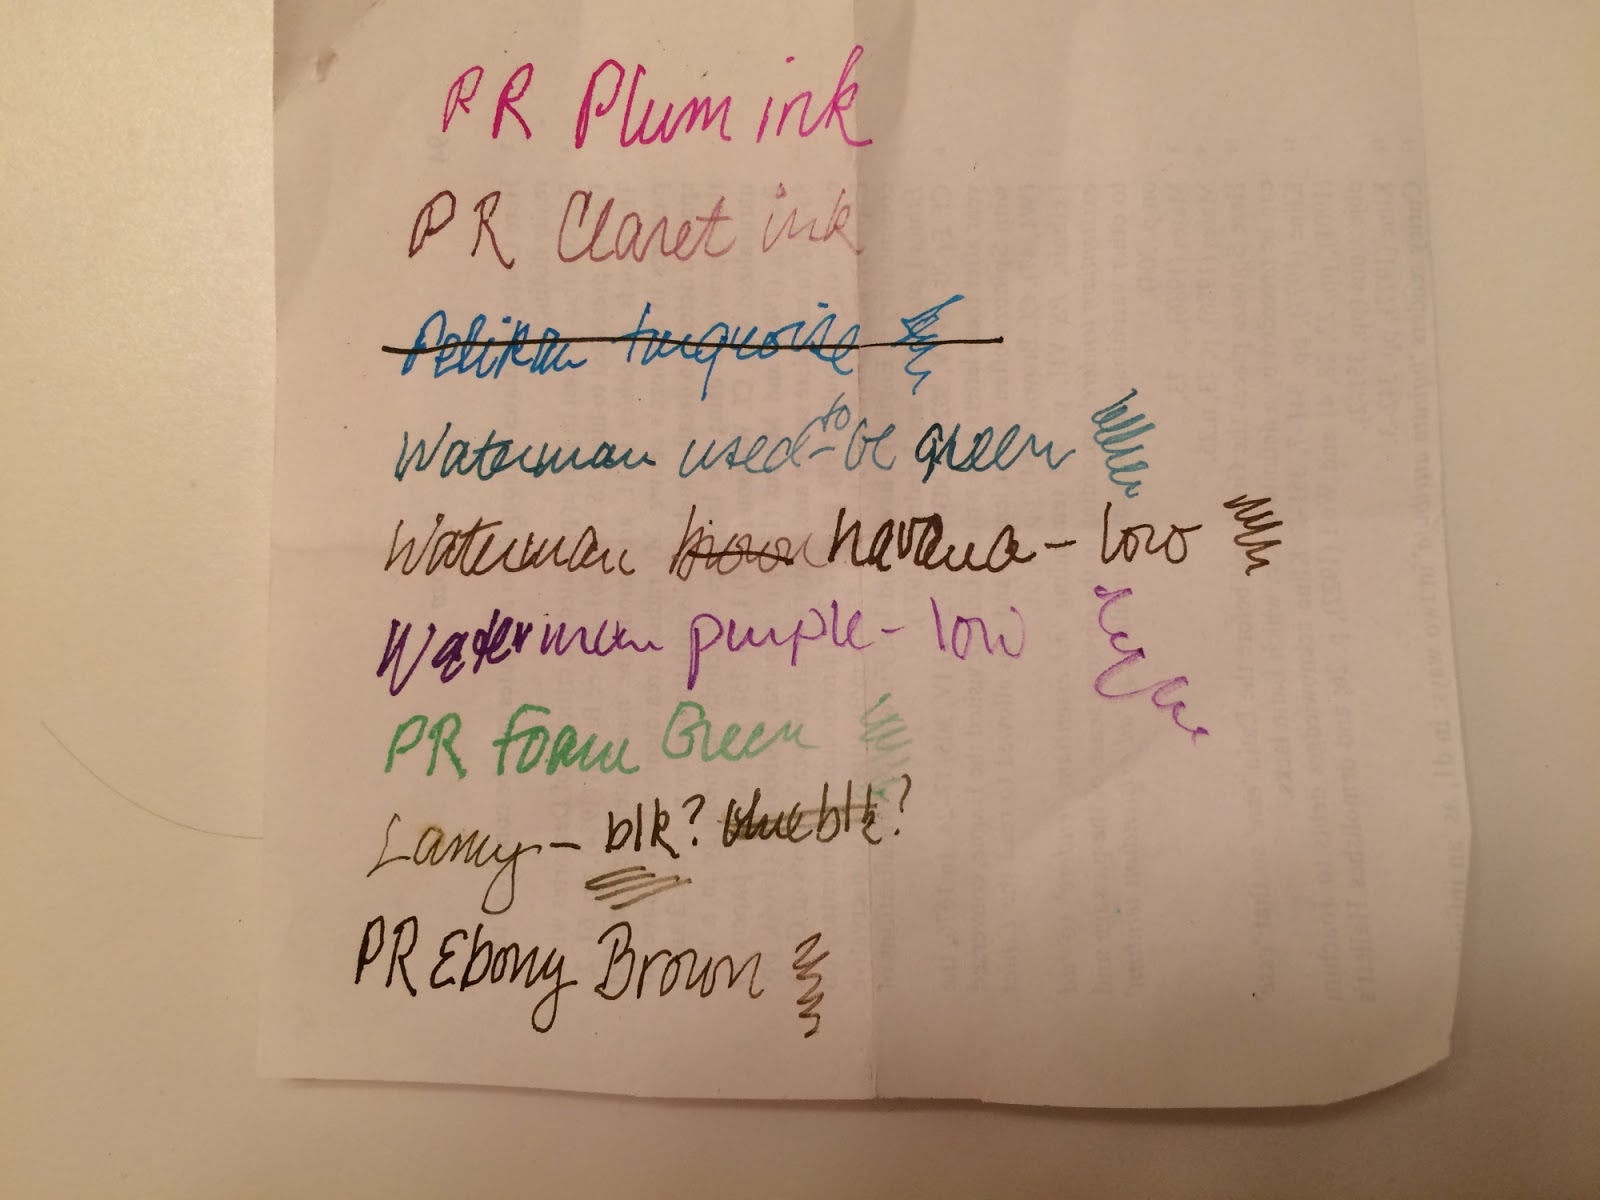
Two books on language learning that I’ve read in the past several years (or has it been longer than that?) recommend using spaced repetition with flashcards. “Spaced repetition” means that so long as you are getting a word right, you increase the length of time before you review it again, while if you get it wrong, you shorten the interval. The Leitner system is a spaced repetition system. It is a list of days and levels of words to review on that day. When you review a word, if you get it right the word moves up a level; if you get it wrong, it moves down.

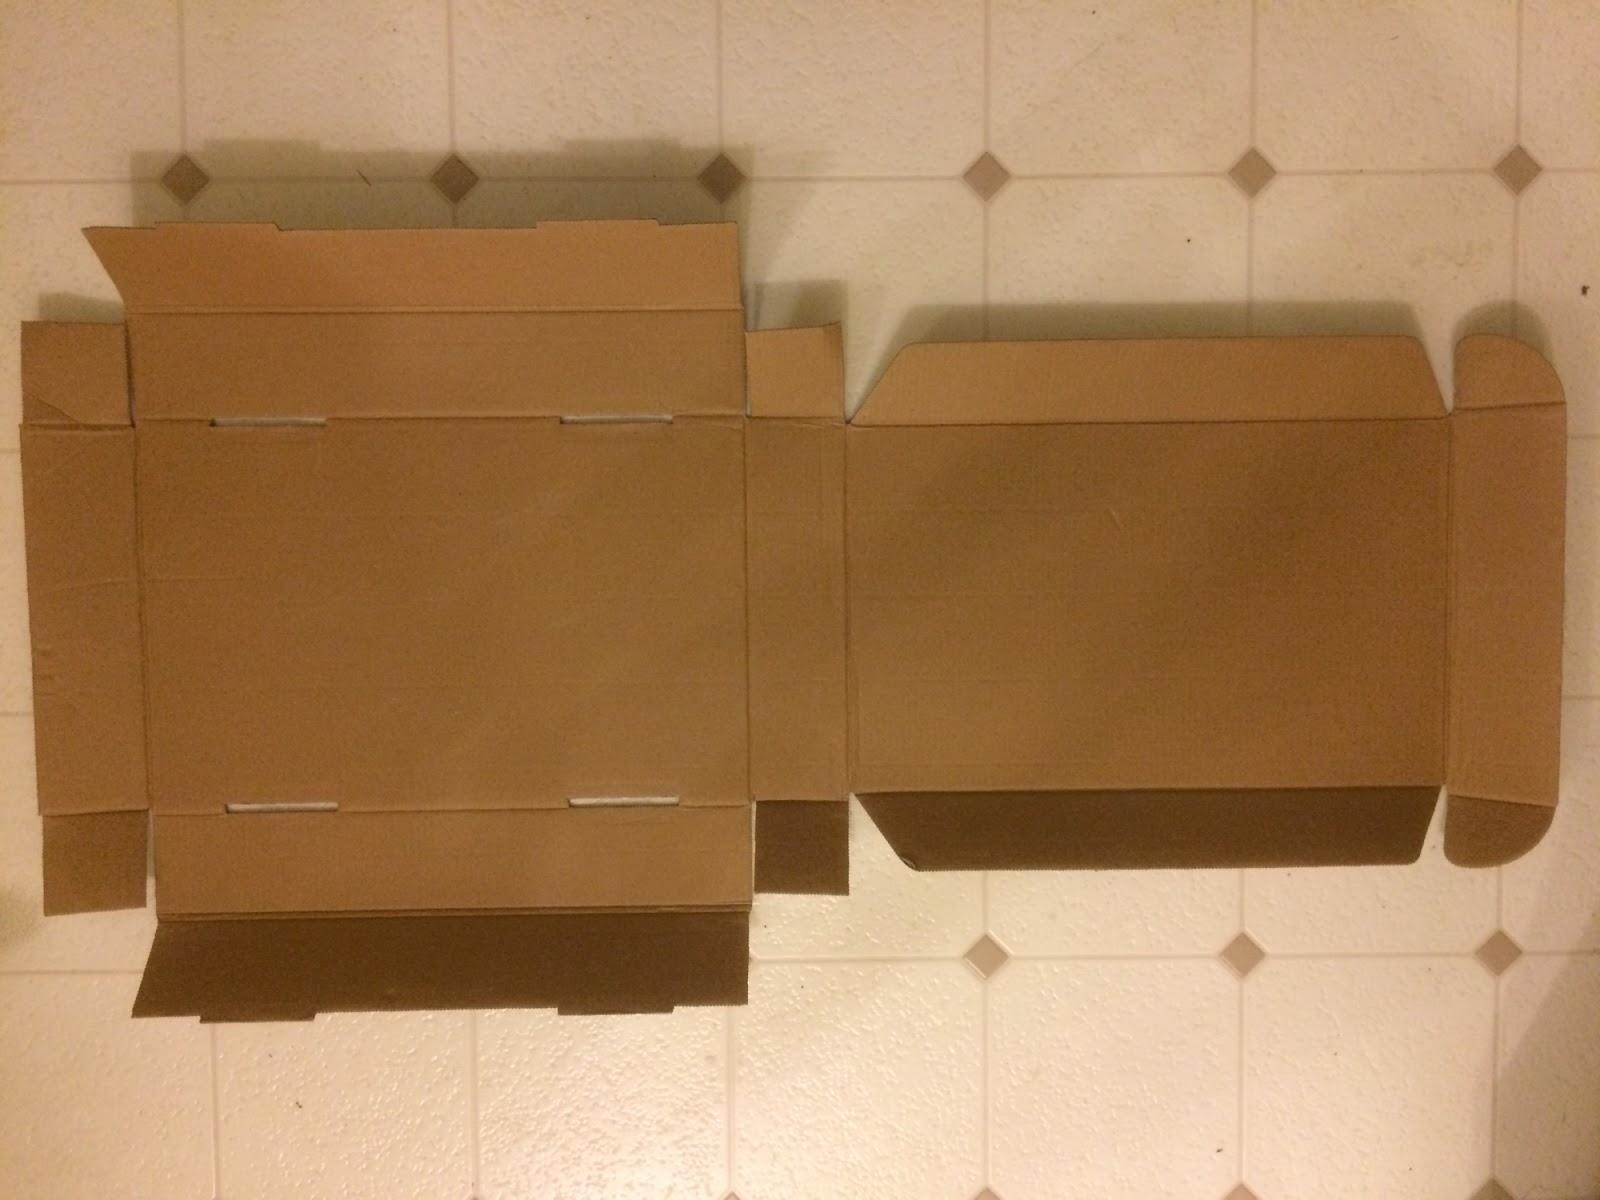
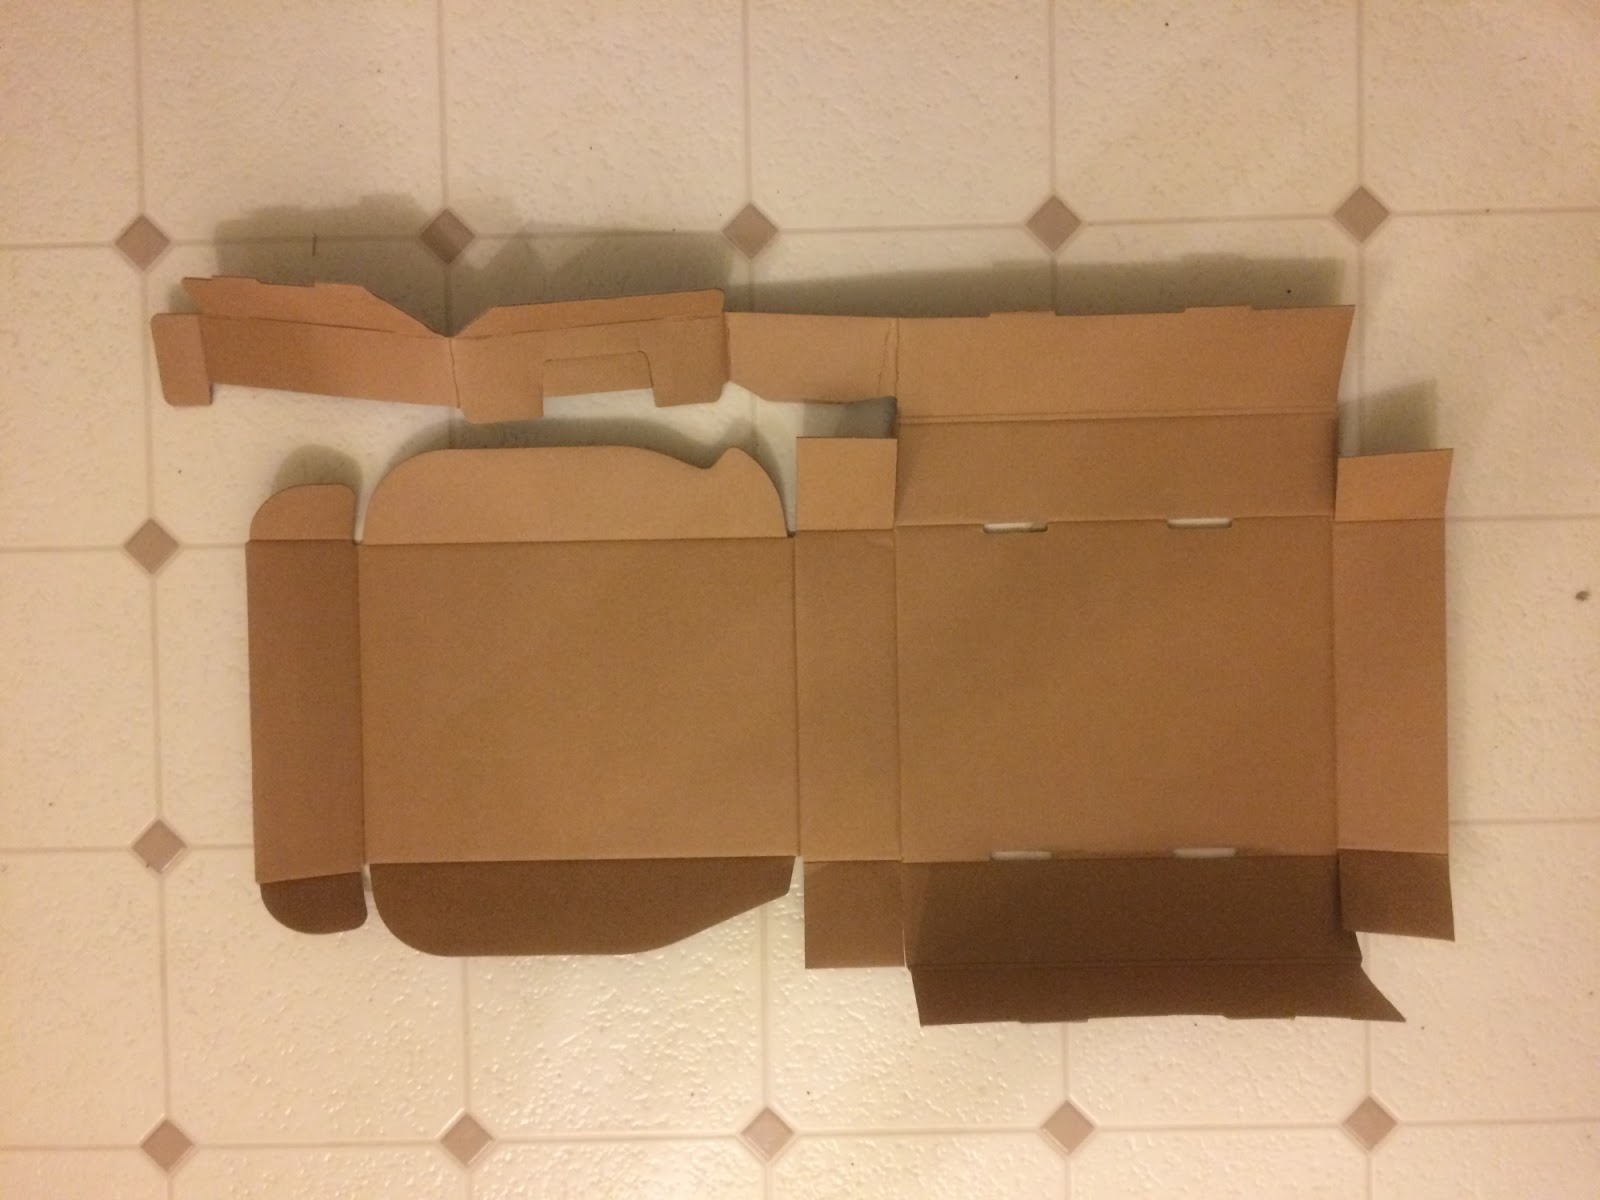
There are lots of on-line flashcard programs, but I like actual cards. Actual cards take up space, though, and need to be contained so cards at different levels don’t get mixed up. So I’ve been making tuckboxes for my flashcards out of cardstock and decorating them.

Tuck boxes for flashcards made from cardstock and decorated using Zentangle and ZIA
The earlier boxes.

I’ve discovered that you need more boxes for the later levels, as those cards accumulate while waiting to be moved up or down. Cards in level 1 get reviewed every day (if you’re being consistent about the system, which I admit I am not) and rapidly move to box 2, and fairly quickly to box 3. Cards start really piling up at level 4, which is only reviewed once a week or so.

Tuck boxes for flashcards made from cardstock and decorated using Zentangle and ZIA
Later boxes.

Although I’ve been using patterns from Zentangle (R), these designs are really Zentangle Inspired Art (ZIA) mixed with … whatever. I do use pencil guidelines for a number of these, especially the scrolls. I also use a lightbox so I can draw guidelines where the edges the template are on the other side of the paper. That way, I can decorate the box before I cut it out (especially helpful with watercolor.)

Decorated template of tuckbox for flashcards.
I already erased the pencil outline that shows me where the edges are.
Decorated template of tuckbox for flashcards.
A different box, cut out.

 I’ve been trying different media for coloring–Prismacolor pencils, watercolor pencils, and watercolor. One of the boxes is coated with ModPodge and glitter, which gives it an interesting feel.

Box for flashcards decorated with ModPodge and glitter
ModPodge and glitter.

For three of the boxes, I wrote across the cardstock in calligraphy, then cut out the box. Can you identify the quotations?

Tuckboxes for flashcards decorated with calligraphy.
Boxes with calligraphy.

The template for these boxes was generated using Craig Forbes’ tuckbox template generator. (I am having difficulty getting to the webpage now–hope that changes.) You can choose the dimensions of your box to suit the size of your flashcards. Be careful to select “actual size” when printing them, or your boxes may be unexpectedly too small.

Box (tuckbox) for flashcards decorated with tangle patterns

Happy vocabulary practice!

Playing With Ink

When I was about eight years old, my grandmother gave me a Parker 45 fountain pen and ink cartridges. I still have it and it still works, though it had to be repaired once. Since then, I have accumulated other fountain pens: some that can take cartridges of ink, and some that must be filled from bottles. So today I’m going to talk about the fun of playing with ink colors.
Ink cartridges usually come in a limited range of colors. Parker offers black, blue, red, and green. I think they once offered turquoise, but I may be misremembering. Pilot offers cartridges in black, blue-black, blue, green, red, purple, and sepia (brown), which is quite a variety.
The fun comes when you change from one color of ink cartridge to another without rinsing your pen. Your words slowly change in color as the old ink gets flushed out of the nib. (Sorry, no photo.) This is playing with ink without any mess and fun for kids. (Just remember to show them how to write with a fountain pen—gently, and holding the pen at an angle, not upright. Nib right side up, and both sides of the split in contact with the paper–don’t write with the side of the nib.)
Bottled ink currently comes in an enormous variety of colors. I think most pen companies offer their own selection. Noodler’s Ink even offers an invisible ink that shows up under UV light. As far as I know, there is no need to match the brand of pen to the brand of bottled ink.
Ink bottles come in varied shapes as well as colors.
You can’t quite see it, but I tested the UV ink, too.
Here it is, with a black light shining on it.
Most of the cartridge pens can take a converter that allows them to use bottled ink. However, since you dip the pen into the bottle when refilling it, you shouldn’t go straight from one color to different one without rinsing out the pen. There’s way too much ink residue still in the pen, even if the pen has run completely dry. You don’t want to contaminate one color of ink with another. So you can’t do the same trick with bottled ink that you can with cartridges.
However, I just realized recently that writing with various dilutions of ink is also fun! I don’t know why it took me so long to try it. I started writing with a pen that had held violet ink and which I was trying to rinse clean. I had filled it for the umpteenth time with distilled water and it was still writing violet—but pale violet. (I think I needed to take the converter out and rinse the nib thoroughly.)
Testing various inks and pens.
Inks can do strange things when diluted, especially black ink. Probably you’ve seen the result of black marker on paper towel getting wet and spreading out in different colors that you didn’t realize were in there. For this post, I took two pens that I thought had been filled with black ink and refilled them with distilled water. Strangely, one started producing yellowish writing for a while, then darkened to a dilute black. The other behaved oddly (I should have taken a photo of the paper towel I was wiping it on), then settled down to a bluish black. Turns out I don’t even have a bottle of black ink. I must have filled one with Ebony-brown and the other with Blue-black.
I should also add that ink that has been diluted with water isn’t going to behave quite the same way as undiluted ink. I don’t know what other ingredients go into ink, but I am aware that there is more than just water in there. Probably there are ingredients that thicken it slightly, or help it flow or help it dry quickly… I don’t know.
Some people take playing with ink to higher levels. Some people mix ink colors and then fill their pens with them.  Other people refill cartridges from a bottle using a syringe. 
Maybe someday I will be one of those people. For now, I’m having enough fun swapping out cartridges to watch the color change, and writing with diluted ink en route to switching colors of bottled ink.
Till next post.

Who Designs This Stuff?–the impressive origami of modern packaging

Like many people, we purchase way too many things that come packaged in one sort of cardboard box or another. Boxes pile up and have to be recycled, since we only have need for a few to use for this and that. As a result, every so often I spend time breaking down cardboard boxes so I can fit them neatly into the trunk of my car… and sometimes I am surprised at the ingenuity of the packaging.

Most of the standard shipping boxes are held together with tape, but boxes that were designed to hold a specific product–something electronic, perhaps–are often folded into shape and can be unfolded and flattened without cutting any tape at all. (Like a pizza box.) Not only that, but sometimes the inserts are also just cleverly folded cardboard, designed to hold a particular shape of product securely during shipping.

Who comes up with this stuff? How do they do it? I imagine the packaging engineers must have a whole repertoire of standard folded box templates. Then, when assigned to make a package for some assortments of product and parts, they tweak them. Surely there’s a computer program involved, too. (Maybe it measures how much cardboard different potential packaging solutions would require.)

But really I don’t know anything about how they do it. I just know that a lot of ingenuity apparently went into these pieces of cardboard that I am about to recycle, and so, in appreciation, I took a few photos recently to offer as samples.

I think this one had a lid with tabs.
Box with fold-over lid with tabs.
See the attached insert on this box. I’m not sure what it held.

I wish I had taken photos of some of the more elaborate folded inserts I’ve seen, and also photos of the “before” stage–when they were still boxes and compartments and oddly shaped cradles for cables.

Till next post.